Applications of 3D Printing in Formula 1
Discover how 3D printing is revolutionizing Formula 1 by enhancing design, reducing costs, and increasing team efficiency.
Understand the specifications of 3D printers to confidently choose the best option for your printing projects.
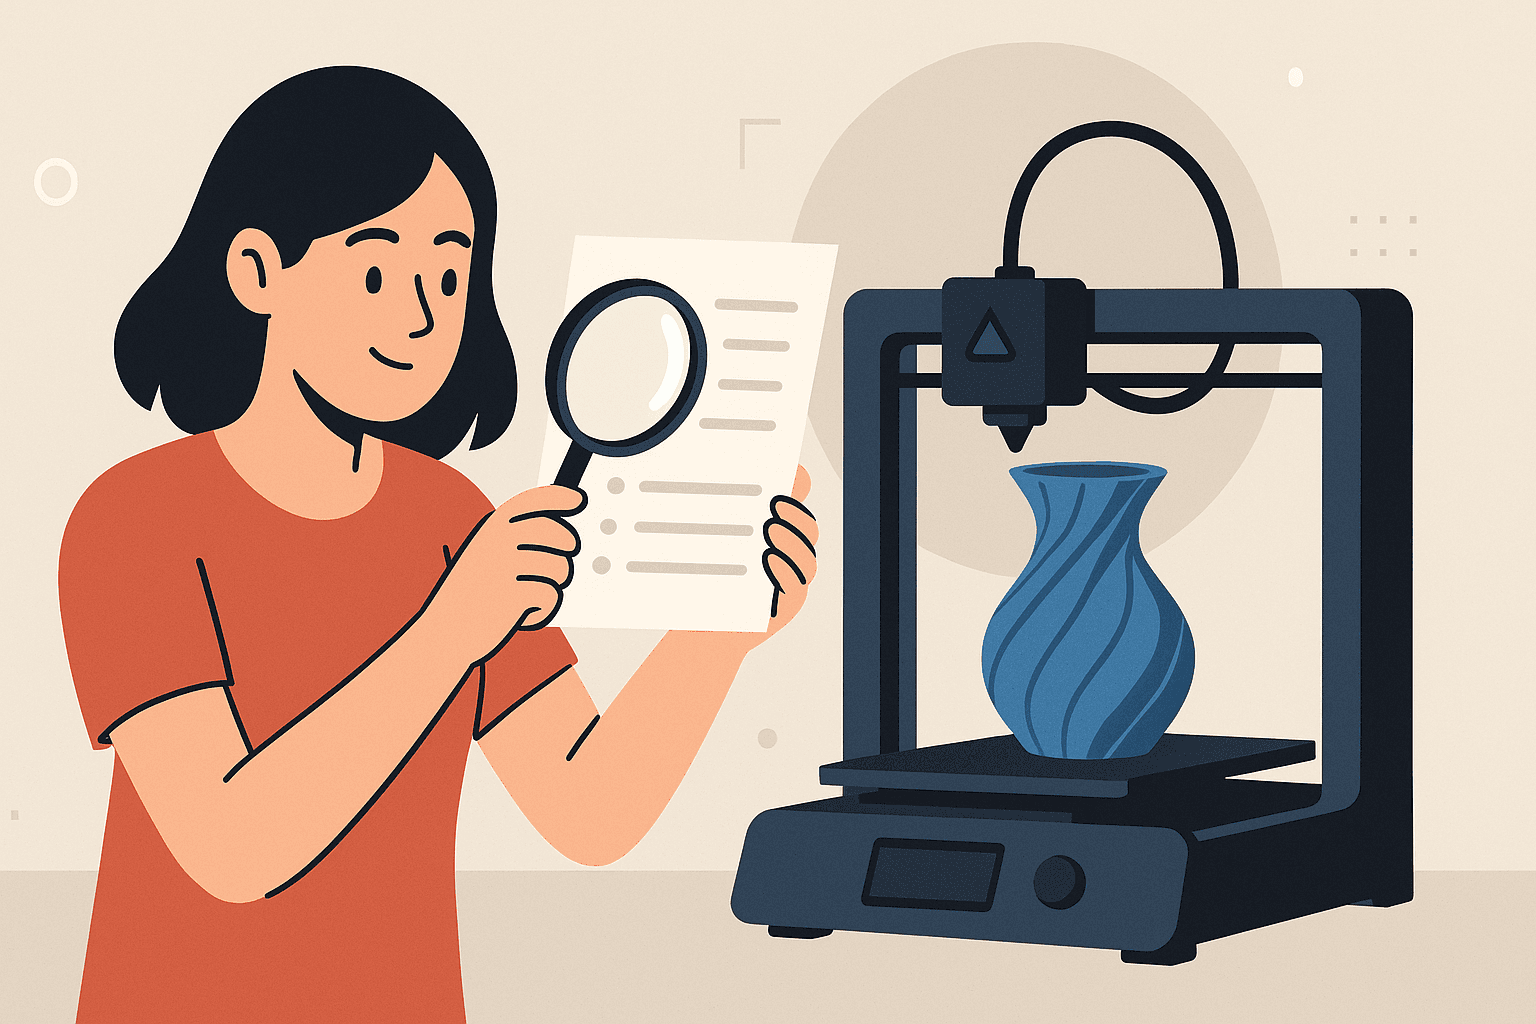
Diving into the world of 3D printing, you’ll often encounter a range of technical specifications that can seem a bit intimidating at first. However, understanding each of these specifications is crucial to ensure you choose the 3D printer that best meets your needs and projects. Let’s start with a practical example: imagine you’re interested in printing detailed parts for architectural models. In this case, the printer’s resolution, usually measured in microns, will be a vital specification. A lower resolution, like 100 microns, may not capture all the intricate details you want, while a resolution of 20 microns can provide the necessary precision, but at the cost of significantly longer print times.
Another important aspect is the build volume, which determines the maximum size of the object you can print. For projects requiring large parts, a printer with a small build volume can be limiting. However, a common mistake is opting for a printer with the largest volume possible without considering the physical space available or how often large parts will actually be needed. Additionally, the choice of printing material, such as PLA, ABS, or PETG, should also be guided by the printer’s specifications, like the maximum nozzle and heated bed temperatures. Choosing a printer that doesn’t support your desired material can lead to frustrations and unsatisfactory results. Therefore, when analyzing specifications, always align them with the type of projects you intend to undertake to avoid unpleasant surprises.
The build volume is one of the most critical aspects when choosing a 3D printer, as it defines the maximum size of the objects you can create. This volume is commonly expressed in cubic millimeters but can also be presented as linear dimensions, such as 200 x 200 x 200 mm. These measurements indicate the maximum width, depth, and height that the printed object can have. For those planning to print large parts, like engineering prototypes or architectural models, it’s crucial to choose a printer with an adequate build volume to avoid the need to split the object into smaller parts, which can result in more assembly and finishing work.
A practical example of this concept can be seen in printers used to create custom helmets. If the build volume is insufficient, the helmet will need to be divided into several sections, increasing print time and potentially compromising structural integrity if not well joined.
A common mistake is to ignore the maximum print height, focusing only on width and depth. This can be a problem when trying to print tall objects, like vases or towers, where height is the limiting factor. Another point to consider is that the advertised build volume often does not account for the area occupied by the nozzle and other printer components, which can reduce the effective space available for printing. Therefore, always check the detailed specifications and, if possible, see the printer in action to better understand its real limitations.
Layer resolution refers to the minimum thickness of the layers that a 3D printer can deposit during the manufacturing process. This parameter is crucial for determining the level of detail and smoothness of the final piece’s surface. A smaller layer resolution, like 0.1 mm, allows for the creation of models with finer details and smoother surfaces, which is ideal for detailed prototypes or parts that require high aesthetic precision. For example, when printing a miniature of a human figure, a resolution of 0.1 mm can capture subtle details, like facial expressions or clothing textures, that would be lost with thicker layers.
On the other hand, a larger layer resolution, like 0.3 mm, may be more suitable for larger parts or functional prototypes where fine details are not as critical. This setting reduces print time and material usage, making the process more efficient for parts that don’t require high precision. However, a common mistake is to assume that a finer layer resolution is always the best choice. This can result in excessively long print times and not necessarily a significant improvement in quality for all types of projects.
Another important point is to consider the material used. Certain filaments, like PLA, can handle fine resolutions well, while other materials, like ABS, may face difficulties, such as delamination, at very thin layers due to their tendency to shrink upon cooling. Therefore, when adjusting layer resolution, it’s essential to balance the desired quality with print time and the properties of the chosen material, avoiding unpleasant surprises in the final product.
The print speed of a 3D printer is one of the most important specifications to consider, especially if you plan to produce parts in large quantities or are working on projects with tight deadlines. This speed is usually measured in millimeters per second (mm/s) and represents how quickly the printer can move the extrusion head along the X and Y axes while depositing material layer by layer.
A 3D printer may have a nominal print speed of, for example, 60 mm/s, but it’s important to understand that this is an average and that factors like model complexity, the type of material used, and the desired resolution can influence the actual print speed. Materials like PLA can be printed faster than ABS, which requires higher temperatures and may warp if printed too quickly.
Additionally, a common mistake among beginners is to increase the print speed in an attempt to reduce manufacturing time without considering the impact on quality. If the printer is not well calibrated, higher speeds can result in misaligned layers, rough surfaces, or even structural failures in the final piece. A practical example is printing parts with fine details or complex geometries; in these cases, it’s advisable to reduce the speed to ensure that each detail is reproduced accurately.
The ideal print speed is a balance between efficiency and the desired quality, and often requires fine-tuning in the slicing software for each specific project. Therefore, it’s crucial to experiment and adjust the settings as needed to find the best combination for your specific needs.
The type of material a 3D printer can use is a crucial specification for any printing project. This not only influences the quality and durability of the final product but also determines compatibility with the printer you own or plan to acquire. Common materials like PLA (Polylactic Acid) are often used due to their ease of use and biodegradability, making them ideal for beginners and home projects. However, PLA is not very heat-resistant, which can be a problem for parts that need to withstand higher temperatures.
On the other hand, materials like PETG (Glycol-Modified Polyethylene Terephthalate) offer greater resistance to heat and moisture, making them a popular choice for functional parts that require more robustness. ABS (Acrylonitrile Butadiene Styrene) is another widely used material, known for its strength and durability, but requires a 3D printer with a heated bed and an enclosed environment to avoid warping during printing.
A common mistake is to assume that all printers can handle any material. For example, a printer designed only for PLA may not have a heated bed, which is essential for printing with ABS. Additionally, printers that handle special materials like Nylon or TPU (Thermoplastic Polyurethane) may require specific nozzles or higher extrusion temperatures. A real example is the XYZ printer from Prusa, which is known for its versatility in handling a wide range of materials, but still, the user must adjust the settings correctly for each type of filament. Choosing the right printer involves not only considering the material you want to use but also ensuring you understand the technical requirements for each type of filament.
The type of extruder is a crucial component that directly affects the performance of a 3D printer, influencing both the quality and consistency of prints. There are mainly two types of extruders: direct extruder and Bowden extruder.
The direct extruder is mounted directly on the print head, allowing for more precise control of the filament. This is especially advantageous when working with flexible materials like TPU, which can easily bend or jam in Bowden systems. With a direct extruder, the distance the filament needs to travel to reach the nozzle is significantly shorter, reducing the chance of clogs and improving retraction. However, the added weight on the print head can limit print speed and require fine adjustments to avoid vibrations.
On the other hand, the Bowden system separates the motor from the extruder on the print head, making it lighter and allowing for faster and more precise movements. This type of extruder is ideal for prints that require high speed and for large volume printers. However, the longer distance the filament travels can cause delays in extrusion and retraction, which can be problematic with flexible materials.
A common mistake when using Bowden extruders is not properly adjusting retraction settings, which can result in prints with defects, such as stringing or blobs. A practical example is printing a detailed model of a vase with PLA filament. With a Bowden extruder, precise retraction adjustments are essential to prevent the filament from continuing to flow during non-print moves, thus ensuring a smooth and flawless surface. Choosing the right type of extruder for the desired material and application is fundamental to maximizing your 3D printer's performance.
The connectivity of a 3D printer is a crucial aspect that can significantly influence the user experience. The most common options include USB, Wi-Fi, and SD cards, each with its own advantages. USB connection is direct and generally reliable, ideal for those using the printer close to the computer. However, it limits mobility, as the computer must always be connected to the printer during printing.
On the other hand, Wi-Fi connectivity offers the convenience of controlling the printer remotely. This is especially useful in production environments where the printer may be located in a different room from the operator. With Wi-Fi, it’s possible to send print files directly from the computer or even from a mobile device using specific apps. A practical example is the ability to monitor the print progress via webcam, if the printer is equipped with such a feature, and receive notifications about the print status. However, the initial setup can be more complex, and network issues can interrupt printing.
Using SD cards is an intermediate solution. They allow transferring print files without the need for a direct or continuous connection to the computer. It’s a robust option since once the file is transferred to the card, there’s no risk of interruption due to connectivity issues. A common mistake is not checking the SD card’s compatibility with the printer, which can result in failures when trying to read the files.
Choosing the right connectivity depends on the work environment and the user’s specific needs. Considering aspects such as the printer's location, the available network infrastructure, and ease of use can help determine the best connectivity option for your 3D printing needs.
Automatic leveling of the bed is a technology that uses sensors to adjust the height of the print bed relative to the extrusion nozzle, ensuring that the first layer of material is deposited evenly. This process is crucial for ensuring proper adhesion of the piece to the bed, preventing issues like warping or shifting during printing. 3D printers equipped with automatic leveling typically have a capacitive, inductive, or optical proximity sensor that measures the distance between the nozzle and the bed at various points. With these measurements, the printer creates a map of the bed surface and dynamically adjusts the nozzle height during printing.
A practical example of using this technology can be found in printers like the Creality CR-10S Pro, which utilizes a BLTouch sensor for leveling. The BLTouch is a touch sensor that detects the bed height with millimeter precision, allowing the user to worry less about manual adjustments. This is particularly beneficial for beginners who are still familiarizing themselves with the 3D printing process.
A common mistake that can occur, even with automatic leveling, is not performing the initial calibration of the sensor, which can result in incorrect measurements. If the sensor is not calibrated correctly, the printer may not adjust the nozzle height as it should, leading to failed prints. Another point to pay attention to is the cleanliness of the print bed. Residues or dirt can affect the sensor’s measurements, so it’s important to ensure that the surface is clean before starting any leveling process. Thus, automatic leveling can be a powerful tool for ensuring high-quality prints, as long as it is used correctly.
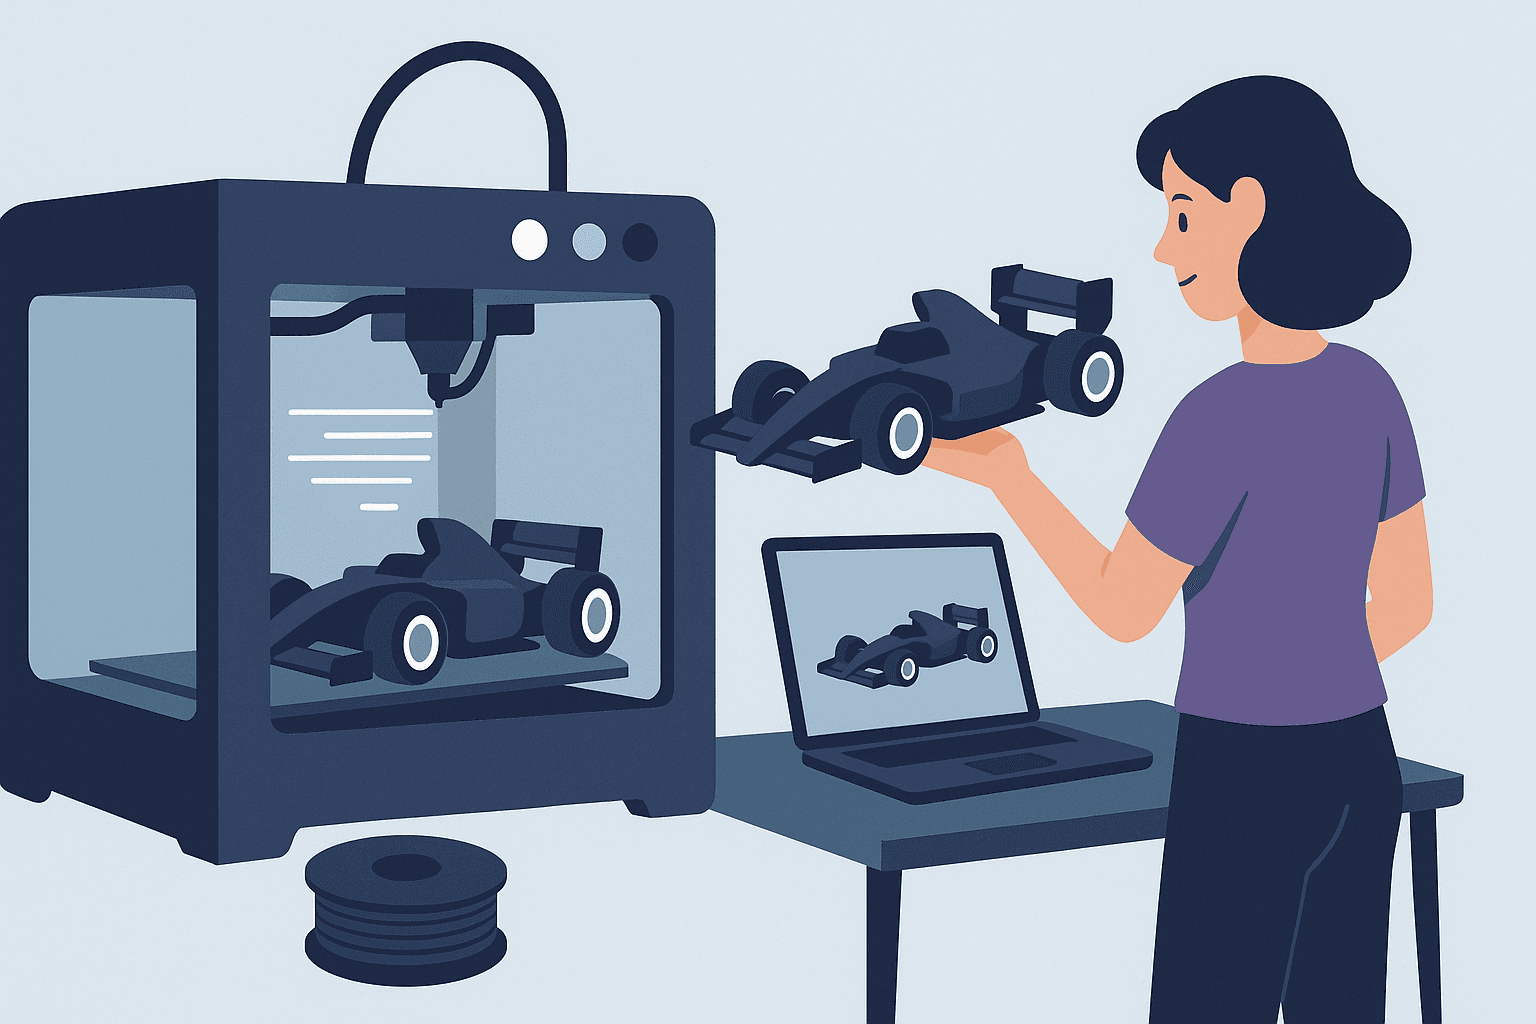
Discover how 3D printing is revolutionizing Formula 1 by enhancing design, reducing costs, and increasing team efficiency.
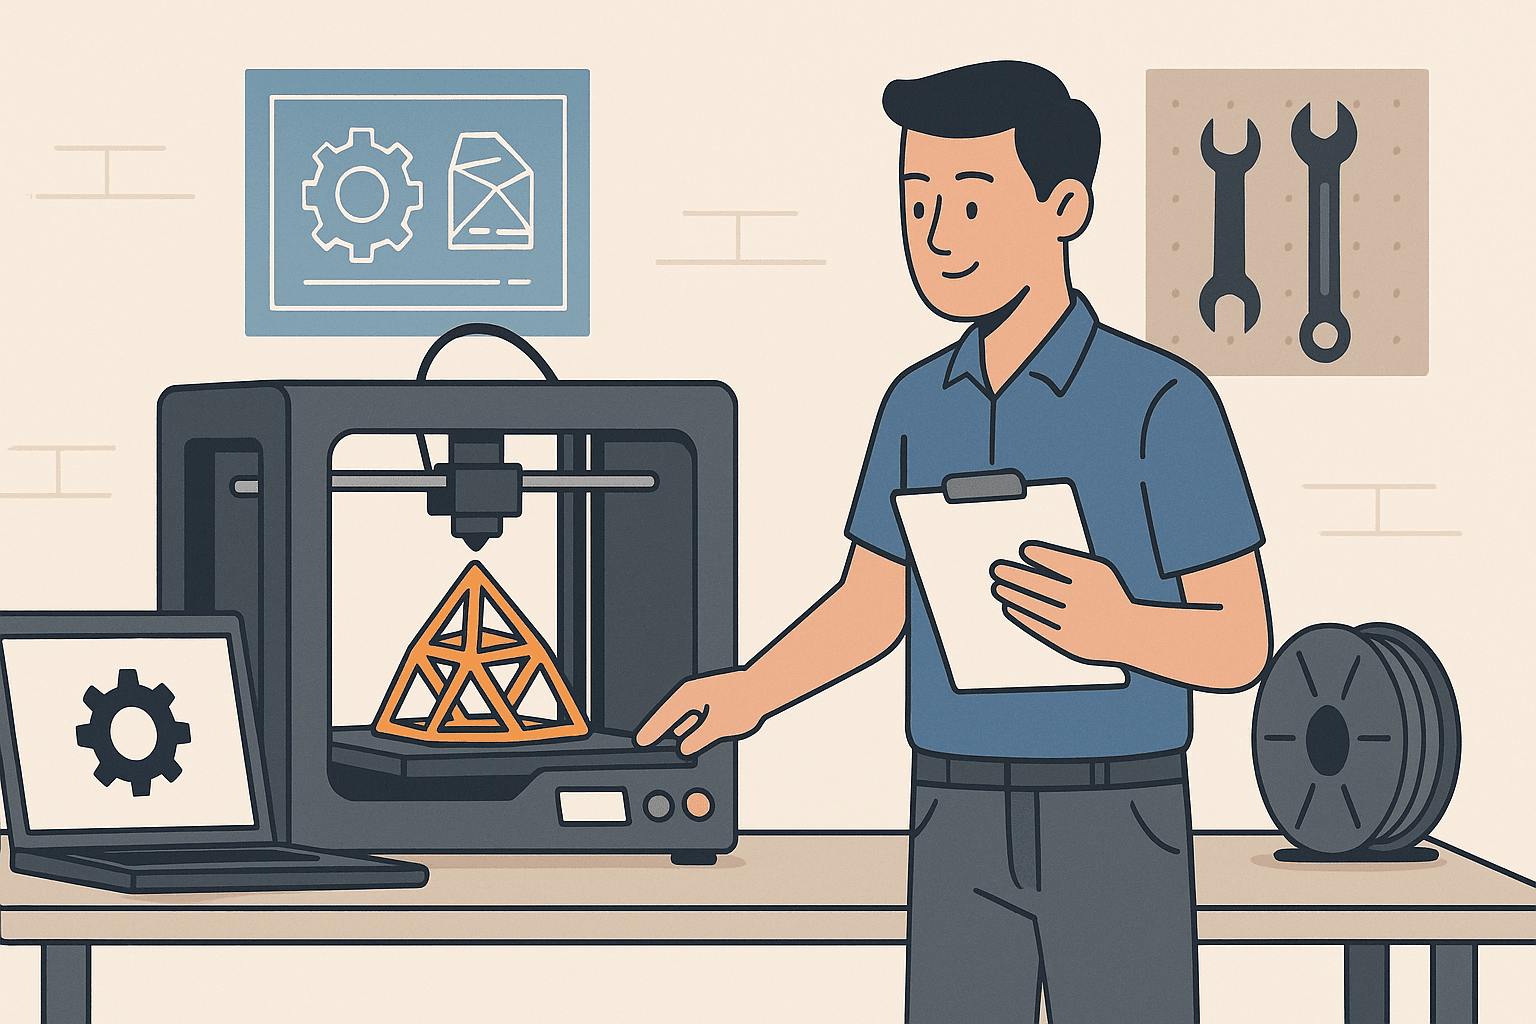
Discover how engineering and 3D printing are transforming design and production, offering innovative and customized solutions across various sectors.
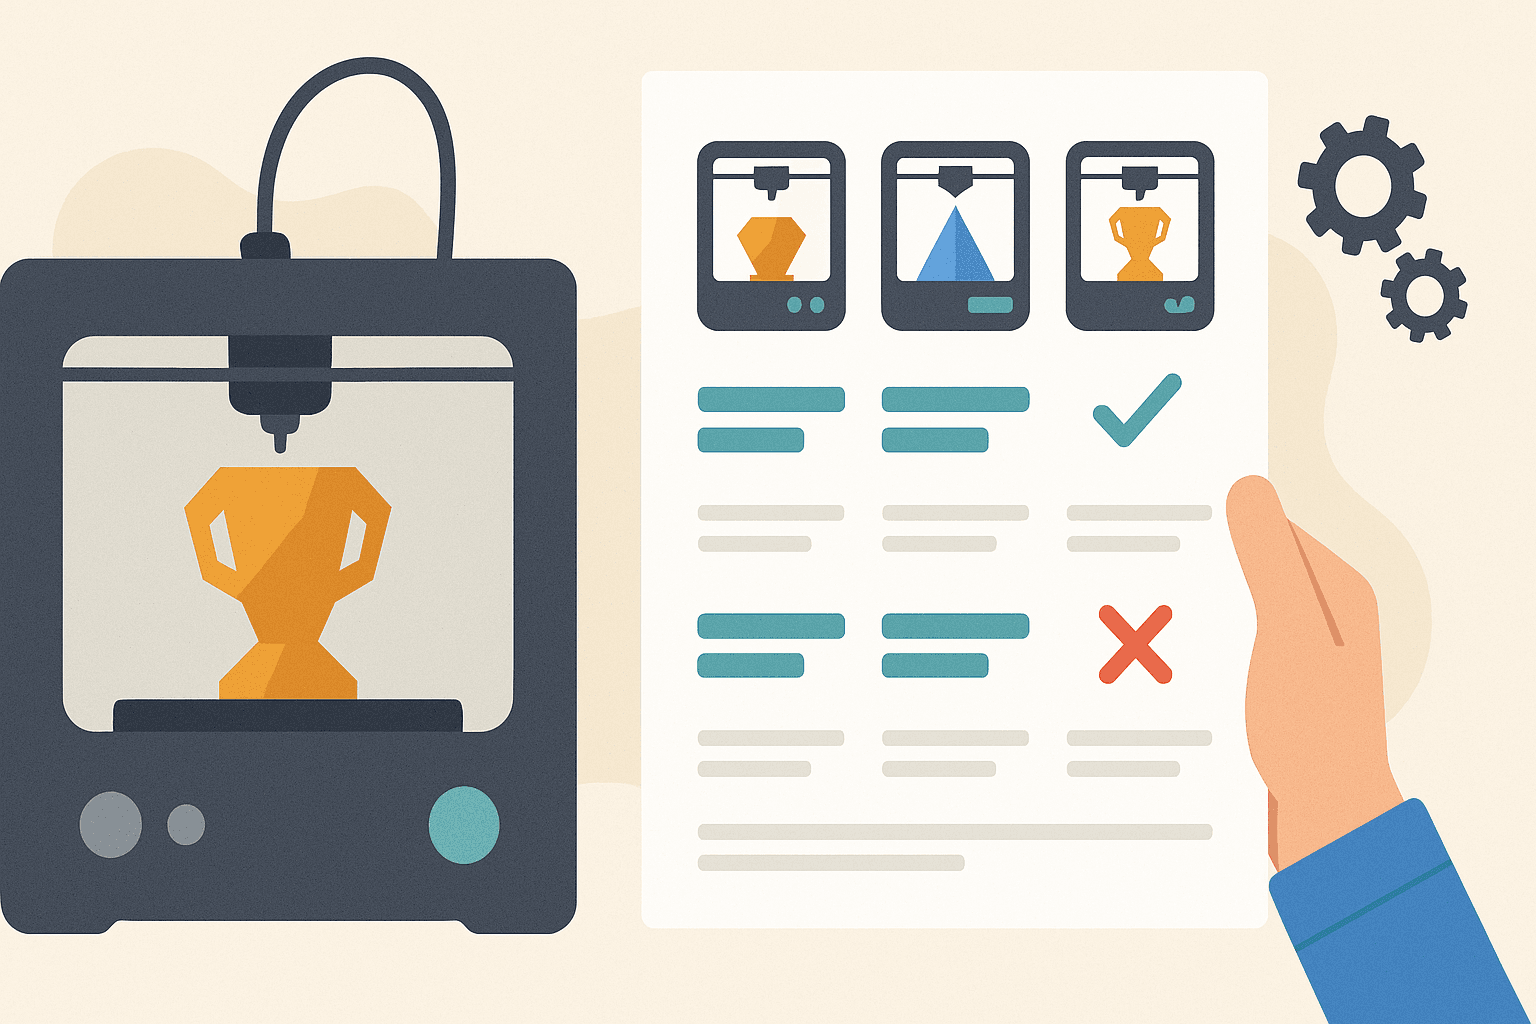
Discover the key features of 3D printers and choose the ideal one for your project with our comparative table. Find out the differences now!