Applications of 3D Printing in Formula 1
Discover how 3D printing is revolutionizing Formula 1 by enhancing design, reducing costs, and increasing team efficiency.
Discover why your 3D printer is fast, but your workflow is slow. Learn how to optimize processes and increase efficiency in 3D printing.
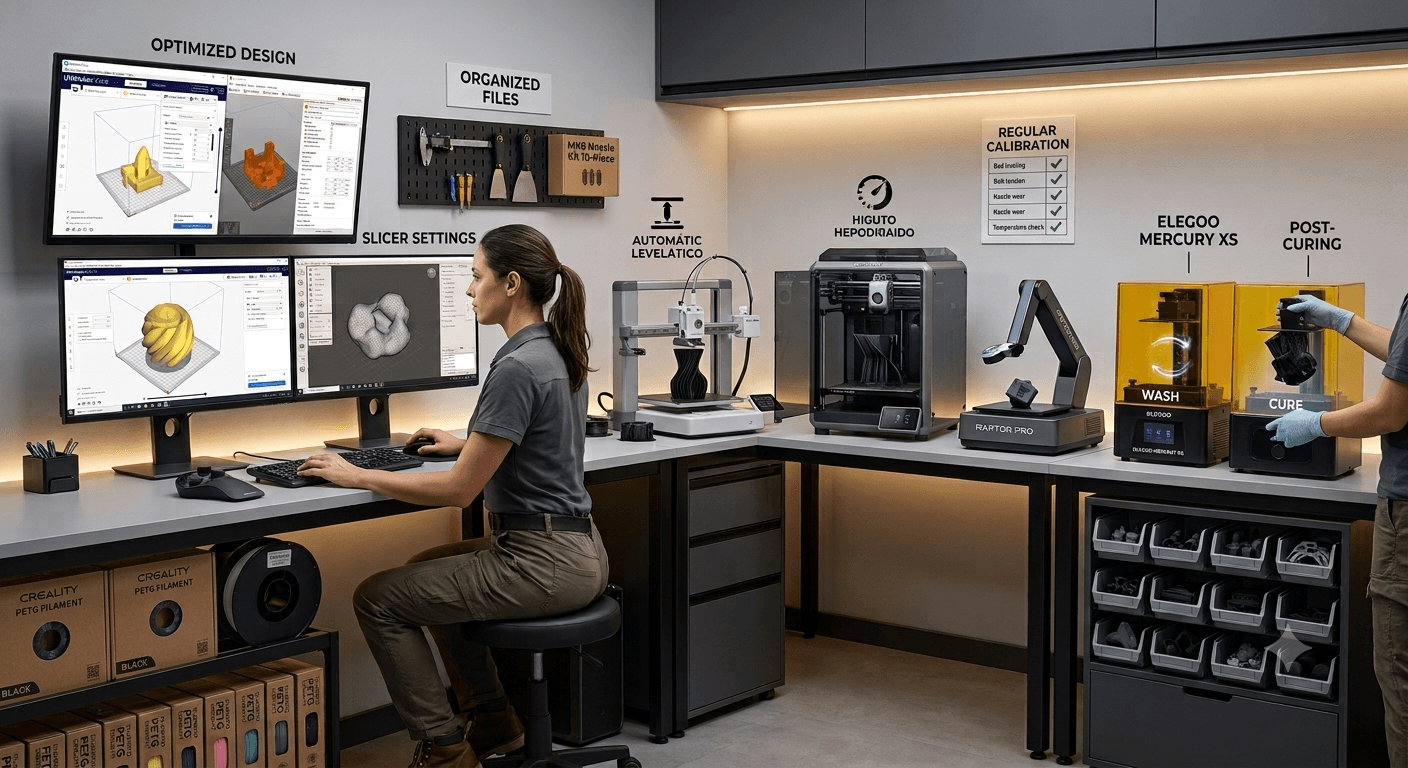
Even with a fast 3D printer, many users face slow workflows. This can be frustrating, especially when you want to maximize productivity. Let's explore some common reasons for this and how to fix them.
One of the main issues is inadequate preparation of files for printing. Poorly optimized STL files can lead to longer processing times in slicing software. For example, a model with too many unnecessary details or mesh errors can take extra minutes to slice, slowing down the entire process. To solve this, use tools like Meshmixer or Netfabb to clean up and simplify your models before importing them into the slicer.
Another common factor is the lack of organization in the digital workflow. Imagine you're working on a project with multiple parts, but you don't have a clear system for naming and storing files. This can result in lost time searching for the correct version of a model or, worse, printing the wrong version. A simple solution is to adopt a consistent naming convention and use organized folders for each project.
Additionally, improper printer setup can be a hurdle. Even a fast printer can be inefficient if it's not calibrated correctly. A typical example is incorrect layer height or print speed settings, which can lead to print failures and rework. Make sure your printer is always calibrated and that you're using the correct print profiles for the material and type of model you're printing.
Finally, a common mistake is underestimating the time required for post-processing. Even if the printing itself is fast, the time needed to remove supports, sand surfaces, or apply finishes can be significant. Plan these steps into your schedule to avoid surprises and delays. By paying attention to these details, you can align the printer's speed with a more efficient workflow.
A complex design can significantly increase printing and post-processing time, making your workflow less efficient. To optimize 3D design, it's crucial to use 3D modeling software that is not only efficient but also suited to your specific needs. Tools like Fusion 360 or Blender offer advanced functionalities that allow you to create detailed models without overloading the printing process. However, a common mistake is adding excessive details that are not noticeable in the final product but can double the printing time.
To avoid this, keep models as simple as possible and focus on the details that truly matter for the functionality or aesthetics of the object. For example, when designing a support piece for a robotics project, prioritize structural strength over complex textures that do not add functional value.
Another tip is to use tools like the Creality Raptor Pro to quickly scan physical models. This can be especially useful if you're working with parts that need to be reproduced accurately, like custom-fit components. However, even with scanning technology, it's important to review and simplify the scanned model in modeling software, removing unnecessary details or adjusting geometry to facilitate printing.
An extreme case that can cause slowdowns is using high-density meshes, which not only increase processing time in the slicer but can also cause print failures due to excessive complexity. Reduce mesh density where possible while maintaining the necessary integrity for the design. Using an iterative approach, where you print prototypes with fewer details for initial adjustments, can save time and material in the long run.
Print settings are crucial to ensure your 3D printer operates efficiently and quickly. Start by adjusting the layer height; thinner layers result in higher resolution but also increase printing time. For example, a layer height of 0.1 mm can provide exceptional detail but will double the printing time compared to a height of 0.2 mm. Assess the level of detail needed for your project before deciding.
Print speed is another vital factor. Setting a speed too high can lead to failures, such as layer shifting or poor adhesion, especially on printers not designed to operate at high speeds. On the other hand, a speed too low can waste time without a significant gain in quality. Test intermediate speeds to find an ideal balance for your machine.
The temperature of the nozzle and heated bed also directly affects quality and speed. Materials like PLA typically print well at temperatures between 190°C and 210°C, but the ideal temperature can vary by filament manufacturer. If the temperature is too low, the filament may not extrude properly, while too high temperatures can cause leaks or warping.
A common mistake is forgetting to regularly calibrate the print bed. Even a slight tilt can result in failed prints, forcing you to restart the process, which consumes time. Modern printers, like the Bambu Lab A1 Mini, offer automatic leveling features that can simplify this process, ensuring the first layer adheres correctly without the need for frequent manual adjustments. Taking advantage of these automatic settings can significantly reduce preparation time and increase workflow efficiency.
Choosing the right material is crucial for optimizing your 3D printing workflow. Different filaments and resins not only influence curing time but also directly impact the quality and durability of the final piece. For example, the Creality PETG Filament is known for its versatility, offering a balance between strength and flexibility. This filament is ideal for projects requiring good impact and temperature resistance without compromising print quality.
However, a common mistake is underestimating the time needed for preparation and adjusting specific parameters for each material. For instance, when using PETG, it's crucial to adjust the extruder and print bed temperatures correctly. Improper adjustments can lead to issues like warping or poor adhesion to the bed, increasing rework time and consequently delaying the workflow.
Consider the case of a maker who decided to switch from PLA to PETG for a project that required greater thermal resistance. Without adjusting the bed temperature, he faced adhesion issues that resulted in several failed attempts before achieving a satisfactory print. He had to adjust the bed temperature to around 70°C and the extruder to 240°C to achieve an ideal result.
Additionally, it's important to have a material stock plan. Running out of a specific filament can interrupt the workflow, especially in projects with tight deadlines. Keeping an updated inventory and anticipating material needs based on future projects can help minimize delays and ensure your 3D printer operates at its maximum capacity.
Regular maintenance of your 3D printer is crucial to ensure it operates at maximum efficiency. An essential practice is cleaning the components, which should be done weekly to prevent the buildup of dust and plastic debris. Use a soft brush and isopropyl alcohol to clean the external and internal parts, such as the rails and the extruder nozzle. Products like the MK8 Nozzle 10 Pack are useful for replacing worn nozzles, ensuring consistent and precise filament extrusion.
A common example of a problem caused by lack of maintenance is the clogging of the extruder nozzle. This often occurs when melted filament is not completely expelled, solidifying and blocking the exit. To avoid this, it's recommended to perform a purge cycle by heating the nozzle to the printing temperature of the filament used and manually pushing the filament until the flow is free of obstructions.
Another common mistake is neglecting the alignment of the print bed, which can lead to adhesion failures and warped prints. Regularly check the leveling using a sheet of paper between the bed and the nozzle; the sheet should move with slight resistance. Adjust the leveling screws as necessary to ensure the distance is uniform across the surface.
Finally, do not ignore the lubrication of the axes and bearings. Use an appropriate lubricant to ensure that moving parts slide smoothly, reducing wear and vibration during printing. Preventive maintenance not only prolongs the printer's lifespan but also minimizes downtime, allowing you to maintain a more agile and efficient workflow.
Efficient post-processing is crucial for optimizing the workflow in 3D printing, especially when dealing with resin parts. One common mistake is underestimating the time needed for washing and curing parts, which can significantly delay project completion. Tools like the ELEGOO Mercury XS are designed to streamline these steps, offering a washing and curing system in one device. This not only saves time but also space in your workspace.
For example, when printing a series of detailed miniatures, the manual washing process can be time-consuming and imprecise, resulting in resin residues that compromise the final quality. With the ELEGOO Mercury XS, you can ensure that each piece undergoes a consistent washing cycle, using a magnetic agitation system that effectively removes excess resin. After washing, the same device allows for uniform curing of the pieces with UV light, reducing the risk of warping or surface inconsistencies.
Another point to consider is the choice of curing time. Many users make the mistake of under-curing or over-curing their pieces, which can lead to brittleness or discoloration. It's important to follow the resin manufacturer's recommendations and adjust curing times according to the thickness and size of the pieces. Additionally, using a rotating platform in the curing process, like the one provided by the ELEGOO Mercury XS, ensures that UV light reaches all areas of the piece evenly.
Implementing an efficient post-processing system not only improves the quality of your prints but also frees up time for you to focus on creating and designing new projects, making the entire workflow more agile and productive.
Software integration is a crucial component for optimizing your 3D printing workflow. Using tools like Ultimaker Cura or PrusaSlicer can transform the way you prepare your models for printing. These slicing software not only convert 3D models into understandable instructions for the printer but also offer advanced features like automatic error detection in the model, which can prevent failures during printing.
A concrete example of how software integration can speed up your workflow is using plugins or scripts that automate repetitive tasks. For instance, PrusaSlicer allows integration with print queue management systems like OctoPrint, which can be configured to automatically start the next print as soon as the current one is completed. This is particularly useful in production environments where multiple printers are operating simultaneously.
However, a common mistake many make is not regularly updating their slicing software. Updates often include performance improvements and new features that can significantly reduce slicing time and enhance print quality. Ignoring these updates can result in a slower and less efficient workflow.
Additionally, incorrectly setting slicing parameters can lead to longer print times. For example, using a layer height that is too low for a model that doesn't require fine details can unnecessarily increase printing time. Adjusting these parameters according to the specific needs of each project is essential for an optimized workflow.
An unorganized workspace can significantly delay your workflow, especially when it comes to 3D printers. Imagine the following scenario: you're in the middle of a complex project and need a specific extruder nozzle quickly. However, your workbench is cluttered with tools, filaments, and loose parts, and finding what you need becomes a real treasure hunt. This type of disorganization not only consumes time but can also lead to mistakes and frustrations.
To avoid this type of situation, it's essential to invest in storage and organization systems that keep everything accessible and in order. Consider using modular drawers to store nozzles, tools, and accessories. Label each drawer or compartment so you can quickly find what you need. Additionally, racks or wall mounts for filaments can help keep rolls organized and prevent them from tangling or getting damaged.
A common mistake is underestimating the importance of a good cable management system. Loose cables can not only be a tripping hazard but also interfere with the printer's movement, potentially causing print failures. Use Velcro straps or cable channels to keep cables tidy and out of the way.
A practical example of successful organization can be found in many makerspaces, where each tool and material has a designated place. This not only speeds up the workflow but also helps keep the environment safe and efficient. By dedicating time to organize your space, you can transform a slow and frustrating workflow into a smooth and productive process.
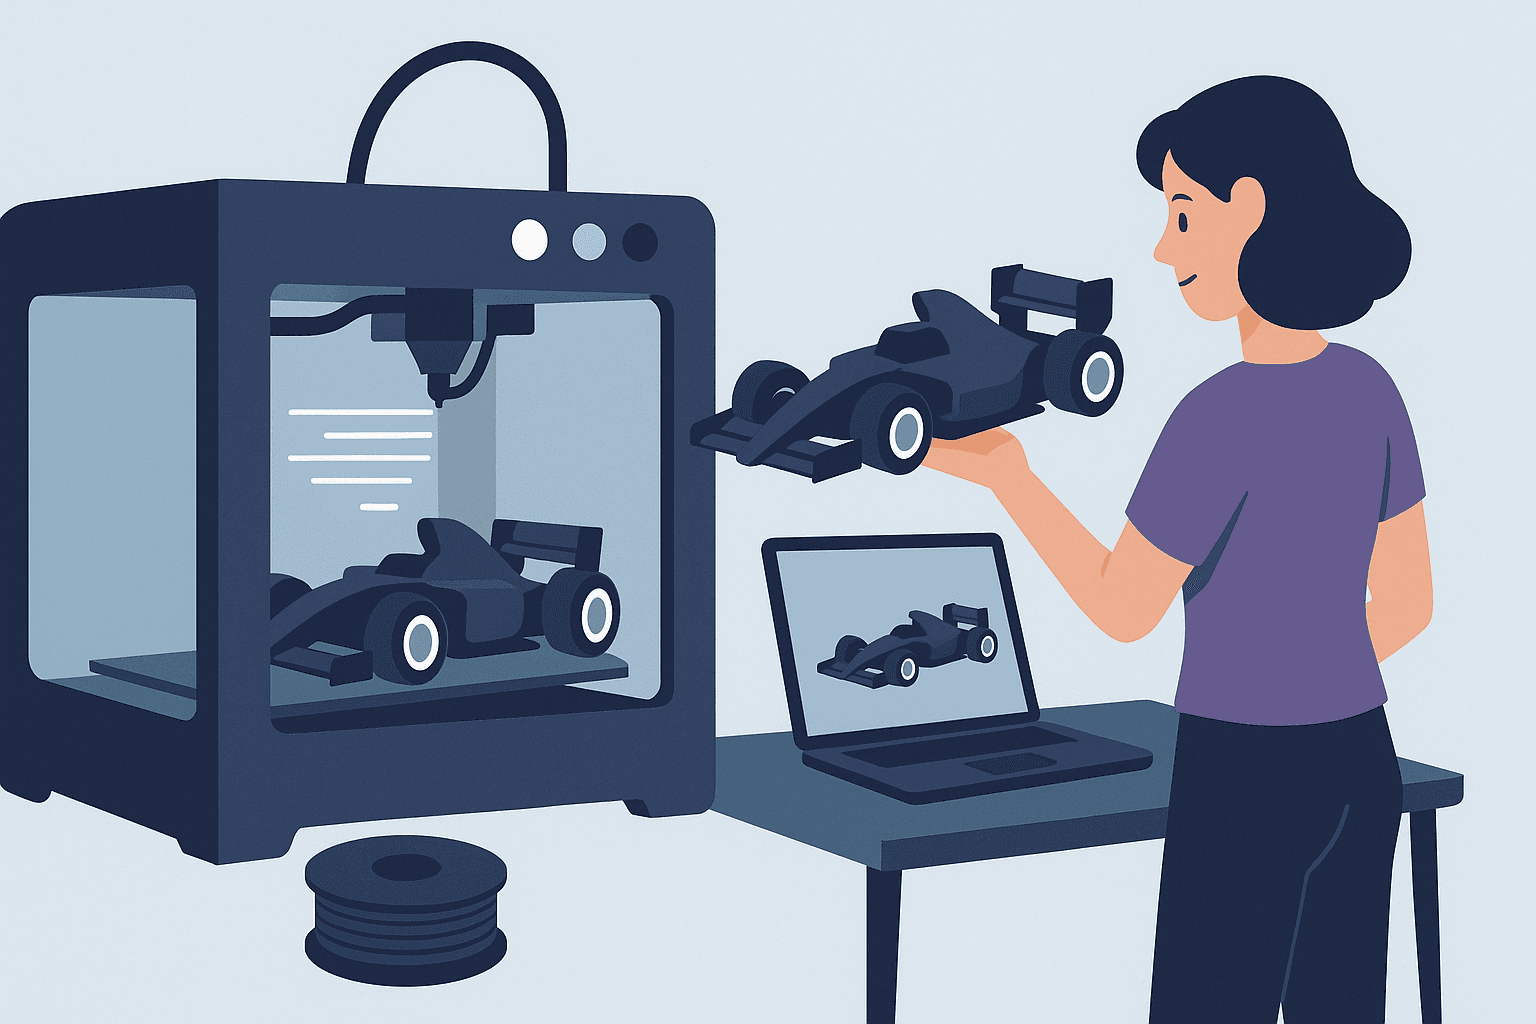
Discover how 3D printing is revolutionizing Formula 1 by enhancing design, reducing costs, and increasing team efficiency.
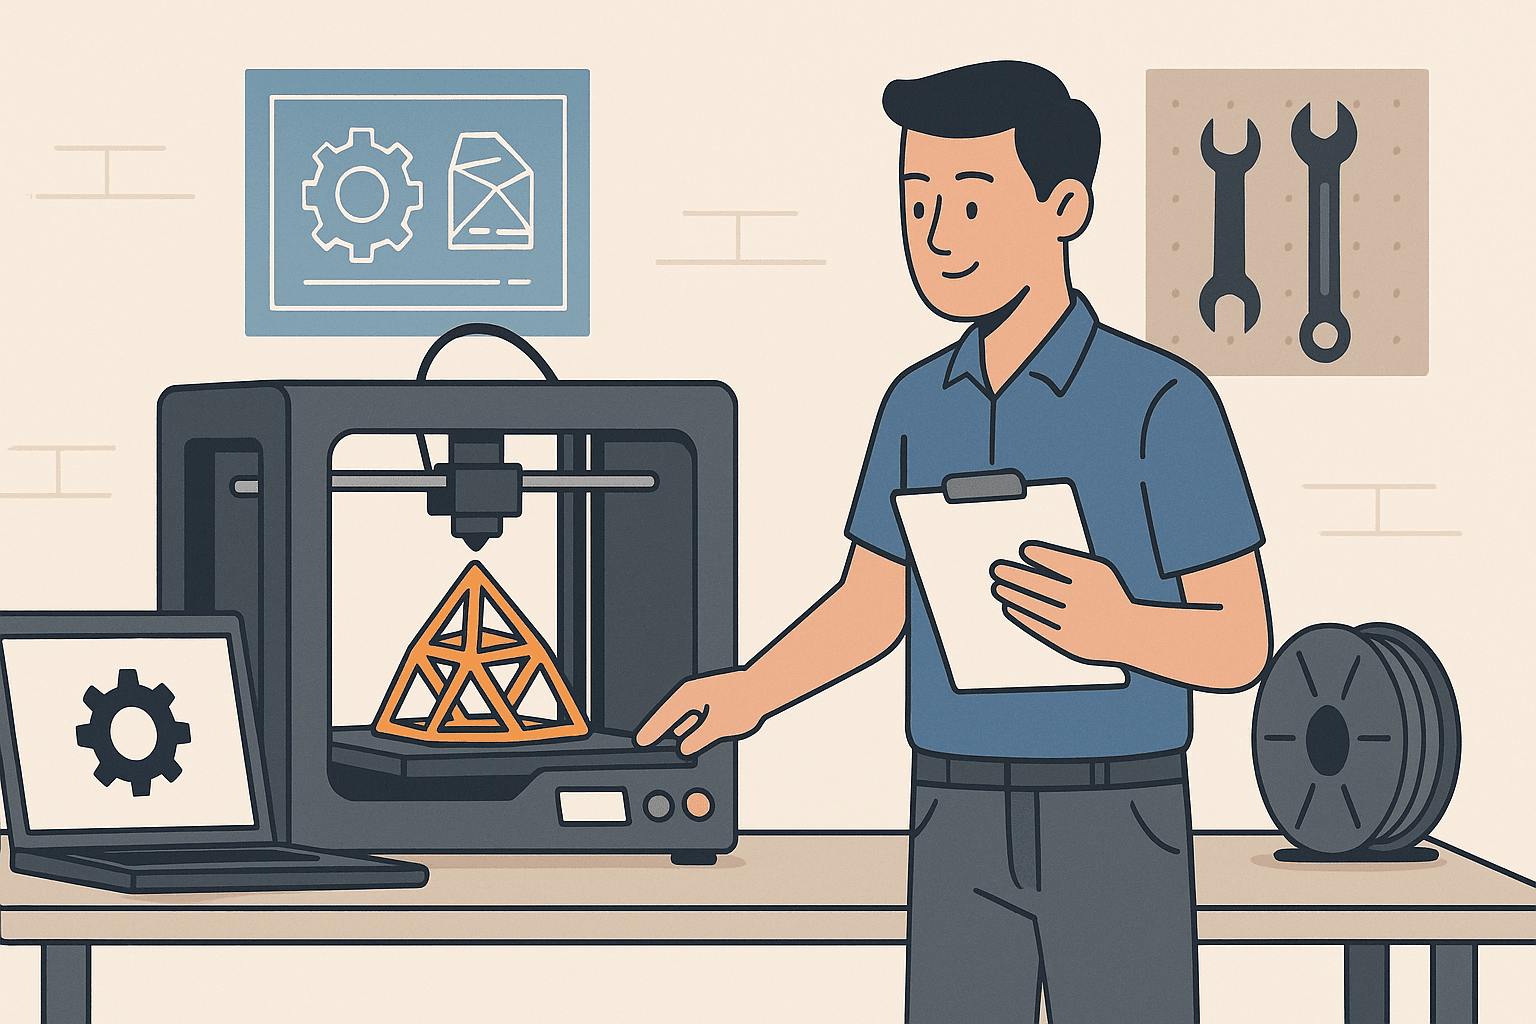
Discover how engineering and 3D printing are transforming design and production, offering innovative and customized solutions across various sectors.

Discover the key features of 3D printers and choose the ideal one for your project with our comparative table. Find out the differences now!