Applications of 3D Printing in Formula 1
Discover how 3D printing is revolutionizing Formula 1 by enhancing design, reducing costs, and increasing team efficiency.
Learn how to calculate 3D printing costs by considering material expenses, print time, and maintenance to optimize your projects.
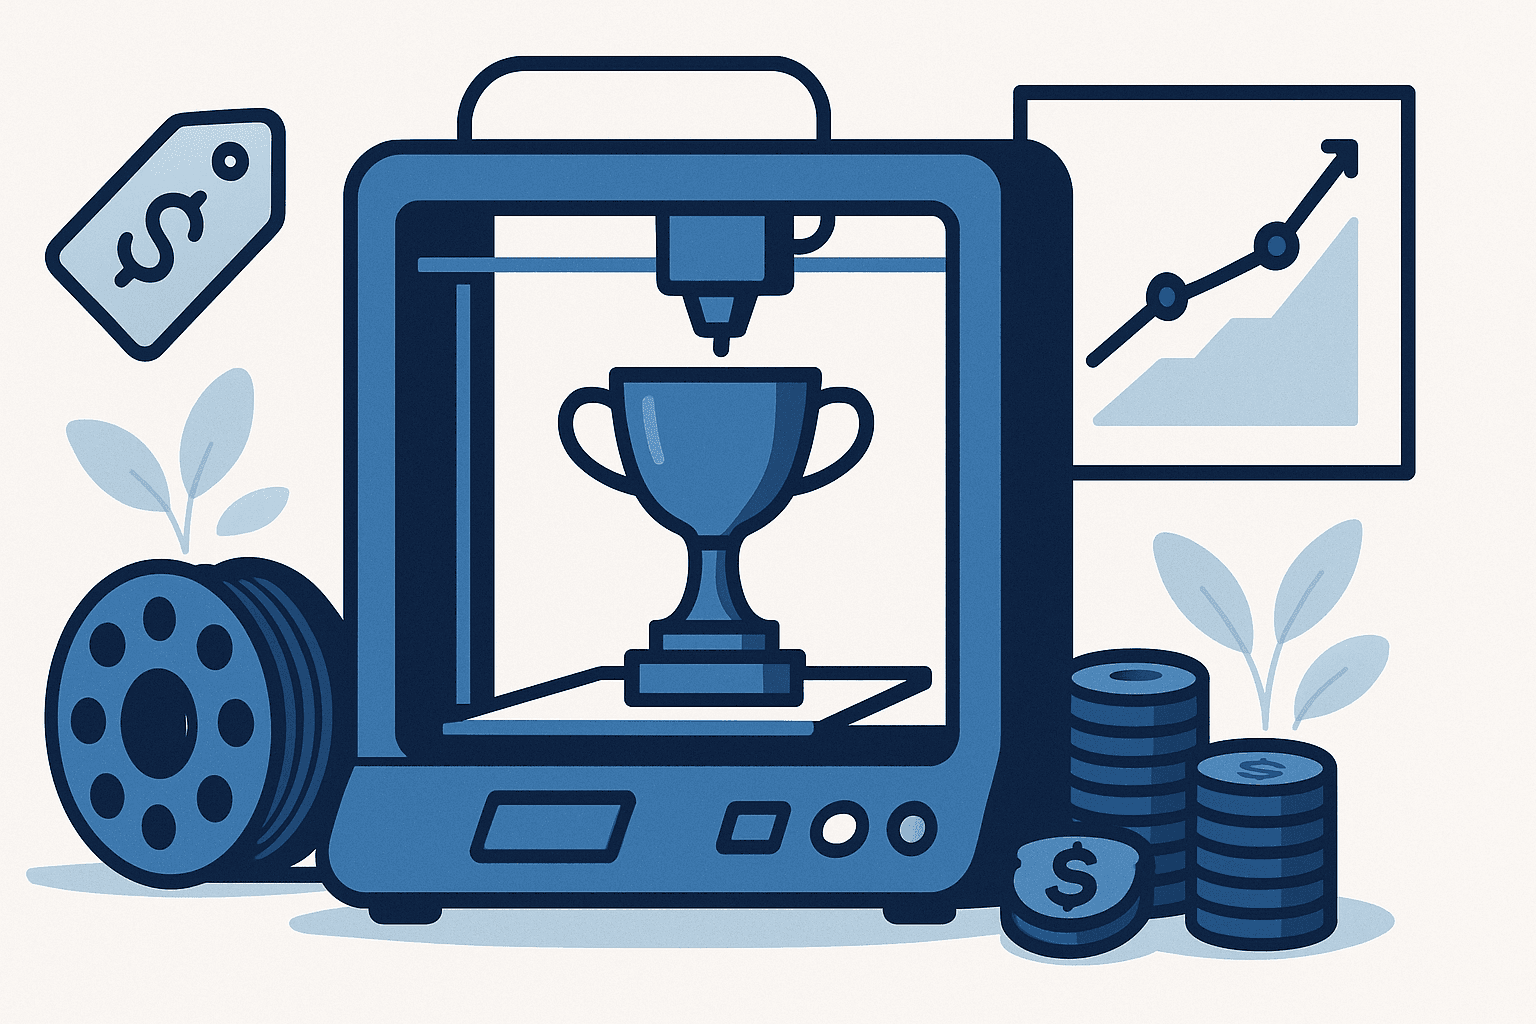
Calculating 3D printing costs can be challenging for many enthusiasts, especially since it involves a variety of technical and economic factors. One of the main components of cost is the material used. Materials like PLA and ABS are generally more affordable, while options like nylon or composite filaments can significantly raise the price. Additionally, the complexity of the design also impacts the cost. A model with many details or moving parts may require more print time, thus increasing the final rate.
Another crucial aspect is print time. 3D printers operate at different speeds, and a high-quality print can take longer, increasing energy consumption and wear on the machine. For example, printing a simple miniature might take just a few hours, but a functional prototype with high resolution could take an entire day.
A common mistake is underestimating the time needed for adjustments and failures. Beginners often overlook the time spent on calibration tests or dealing with printing failures, such as warping or nozzle clogs. These issues can lead to additional material and time costs.
Also consider the depreciation of the printer and maintenance, which are often forgotten. Keeping the machine in good condition is essential to ensure the quality and consistency of prints, avoiding unexpected costs in the future.
To optimize your printing costs, it is advisable to conduct a detailed analysis of the involved expenses and, if possible, use slicing software that estimates the time and material needed, helping you plan accurately.
Material costs are a fundamental part of 3D printing rates and can vary widely depending on the type of material used. Common materials include PLA, ABS, and resin, each with its own properties and applications. For example, PLA is a thermoplastic derived from renewable resources like corn starch and is known for being easy to use and biodegradable. The Bambu Lab PLA LITE is a popular choice among 3D printing enthusiasts due to its ease of use and good finish quality.
On the other hand, ABS is more heat-resistant and durable, but can be more challenging to print due to its shrinkage during cooling, which can cause warping. Resins, such as ELEGOO Resin 2.0, are often used in SLA or DLP resin printers, offering extremely fine details and smooth finishes, but require additional care, such as post-print curing and handling with gloves due to their toxicity.
A real example of how material costs can impact a project is printing large parts or multiple copies. A common mistake is underestimating the amount of material needed, especially when using more expensive materials like resin or composite filaments. This can lead to unexpected costs and workflow interruptions. Additionally, choosing the wrong material can lead to printing failures, such as using PLA for parts that will be exposed to high temperatures, resulting in warping.
Therefore, when planning a 3D printing project, it is crucial to consider not only the initial cost of the material but also how its properties align with the specific needs of the project. This helps avoid unpleasant surprises and ensures that the final result meets expectations.
Print time is a crucial factor that directly impacts the cost and efficiency of a 3D printing project. Choosing a printer like the Bambu Lab P1S + AMS (Combo), known for its speed and precision, can make a significant difference. This printer can operate at a speed superior to many traditional models, allowing complex projects to be completed in less time. For example, when printing a functional part for a mechanical prototype, where precision and speed are essential, a machine like the Bambu Lab can reduce print time from several hours to just a few, depending on the size and complexity of the model.
It is important to consider the complexity of the model when estimating the necessary time. Models with many details or intricate geometries may require more time, even on fast printers. A common mistake is underestimating print time by not properly adjusting speed and quality settings. For example, increasing speed without considering the necessary resolution can result in low-quality prints, requiring reprints and increasing the total cost.
Another point to note is the regular maintenance of the printer. Even the fastest printers can face delays if not properly maintained. Filament residue or mechanical failures can slow down the printing process or cause unexpected interruptions. Therefore, in addition to considering the printer's speed, it is essential to maintain a regular maintenance schedule to ensure the printer operates at its maximum capacity. This way, it is possible to optimize print time and consequently reduce costs and increase project efficiency.
Regular maintenance and wear of 3D printer parts are crucial factors that directly affect printing costs. Components like the Creality Sprite Extruder Pro and the Kit 10 Nozzle MK8 are essential parts that wear out over time due to continuous use. This wear can lead to issues like clogs, poor filament feeding, and print quality failures, ultimately increasing operational costs by requiring more frequent replacements.
A practical example is the wear of print nozzles. When using abrasive filaments, such as wood composites or carbon fiber-loaded filaments, the nozzle can wear out more quickly than expected. This not only compromises print accuracy but can also lead to complete failures if the nozzle is not replaced in time. A common mistake among enthusiasts is ignoring signs of wear, such as uneven printed surfaces or filaments that do not adhere properly to the print bed.
Another aspect to consider is the maintenance of the extruder. The Creality Sprite Extruder Pro, for example, requires regular lubrication and cleaning to ensure that the filament is fed smoothly and consistently. Failing to perform this maintenance can result in unexpected stoppages and, consequently, higher printing costs due to downtime.
Additionally, a frequent mistake is not having spare parts on hand. When a component fails and there is no immediate replacement, production can be interrupted, affecting deadlines and increasing costs. Therefore, it is essential for 3D printer operators to maintain a minimum stock of critical parts to minimize downtime and keep printing operations efficient.
Energy costs are another factor to consider when calculating 3D printing rates. Energy consumption can vary significantly between different printer models, depending on factors such as the type of technology used (FDM, SLA, SLS, etc.), the size of the equipment, and the energy efficiency of the design. For example, FDM printers generally consume less energy than SLS printers, which require high temperatures to sinter the material powder.
A practical example: a typical desktop FDM 3D printer can consume between 50 to 150 watts during operation, while an SLS printer can easily exceed 1,000 watts. In a long-duration project, such as printing a large part that takes 24 hours, the difference in energy consumption can translate into a substantial cost on your electricity bill.
A common mistake many enthusiasts make is underestimating the impact of print time on total energy consumption. It is easy to focus only on material costs and forget that a printer running for long periods can raise the electricity bill. Additionally, leaving the printer in standby mode or powered on when not in use can also unnecessarily increase costs.
To mitigate these costs, it is advisable to choose printers with energy-saving modes or that have the capability to pause and resume prints without wasting material. Another tip is to perform regular maintenance on the printer to ensure that components like motors and heaters are functioning optimally, avoiding excessive energy consumption. This way, it is possible to keep the budget under control without compromising the quality and efficiency of 3D printing projects.
Comparing different printer models can help identify the most cost-effective one for your needs, considering factors like material type, print volume, and resolution. The Elegoo Neptune 4 is an FDM printer that stands out for its efficiency and cost-effectiveness. It has a build volume of 220 x 220 x 250 mm, ideal for medium-sized projects. Its automatic leveling system and direct extruder make handling flexible filaments easier, reducing the chance of printing failures. A common mistake when using FDM printers like the Neptune 4 is improperly setting the nozzle and bed temperature, which can compromise the adhesion of the first layer. It is essential to adjust these settings according to the type of filament used.
On the other hand, the Elegoo Mars 5 Ultra 9K is an excellent choice for those seeking high resolution in resin prints. With a 9K monochrome LCD screen, it offers precise details, making it perfect for complex models and miniatures. However, it is important to remember that resin printers require additional care, such as using gloves and a mask when handling liquid resin. A frequent mistake is underestimating the curing time needed after printing, which can result in fragile parts. The Mars 5 Ultra 9K also requires a ventilated space to avoid inhaling harmful vapors, a detail that many beginners overlook.
When choosing between FDM and resin, consider not only the initial cost but also the supplies and post-processing time. Each technology has its advantages and challenges, and the right choice depends on balancing quality, cost, and practicality for your specific project.
Using a 3D printing cost calculator can simplify the estimation process, providing a clear view of expected rates by considering factors like material cost, print time, and machine depreciation. These tools are essential for makers looking to optimize their projects and avoid budget surprises.
A practical example would be using an online calculator that allows you to input details such as the type of filament (PLA, ABS, PETG, etc.), the weight needed for the part, and the cost per kilogram of the material. Additionally, you can add the estimated print time, which can be obtained from the slicer software, and the hourly cost rate for using the printer, which should include equipment depreciation and electricity consumption.
A common situation where these tools become especially useful is when calculating the printing cost of small parts in large batches. Without an accurate estimate, it is easy to underestimate the impact of accumulated print time and material consumption. For example, printing 100 units of a part that takes 30 minutes each may seem trivial, but the total time of 50 hours can result in a significant cost in energy and equipment wear.
A frequent mistake is not considering slicer adjustments that can increase print time, such as increasing infill density or finish quality. These details, if not updated in the calculator, can lead to an underestimation of costs. Therefore, it is crucial to review the printing parameters before calculating to ensure that all variables align with the actual project.
To optimize your 3D prints, it is crucial to choose the right material and meticulously adjust the printing settings. Using the appropriate material, such as PLA or ABS, directly impacts the strength and flexibility of the final product. For example, PLA is easier to print and ideal for prototypes, while ABS offers greater durability, making it preferred for functional parts.
In addition to the material, it is vital to adjust printing settings, such as nozzle temperature and print speed. An inappropriate temperature can result in poorly fused layers or warping, while a speed that is too high can compromise layer quality. A concrete example is printing parts with fine details: when printing a miniature, reducing print speed and increasing resolution can make a significant difference in detail definition.
A common mistake is not properly calibrating the print bed, which can lead to inadequate adhesion of the first layer, resulting in print failures. To avoid this, always check the bed leveling before starting the process and use appropriate adhesives, such as blue tape or glue sticks, to improve initial adhesion.
Another important point is the choice of infill density. For parts that do not require high strength, a 20% infill may be sufficient, saving material and time. However, for parts that will bear loads, such as supports or structural components, an infill of 50% or more may be necessary. This balance between economy and functionality is essential to optimize both the cost and quality of 3D prints.
Consider the cost of material, print time, maintenance, and energy. Use a 3D printing cost calculator to make it easier.
PLA is generally the most economical for FDM printers, while resin is used in resin printers, depending on the project.
Regular maintenance and replacement of worn parts increase costs over time, but are necessary to maintain quality.
Printers like the Bambu Lab P1S + AMS (Combo) are efficient due to their speed and lower energy consumption.
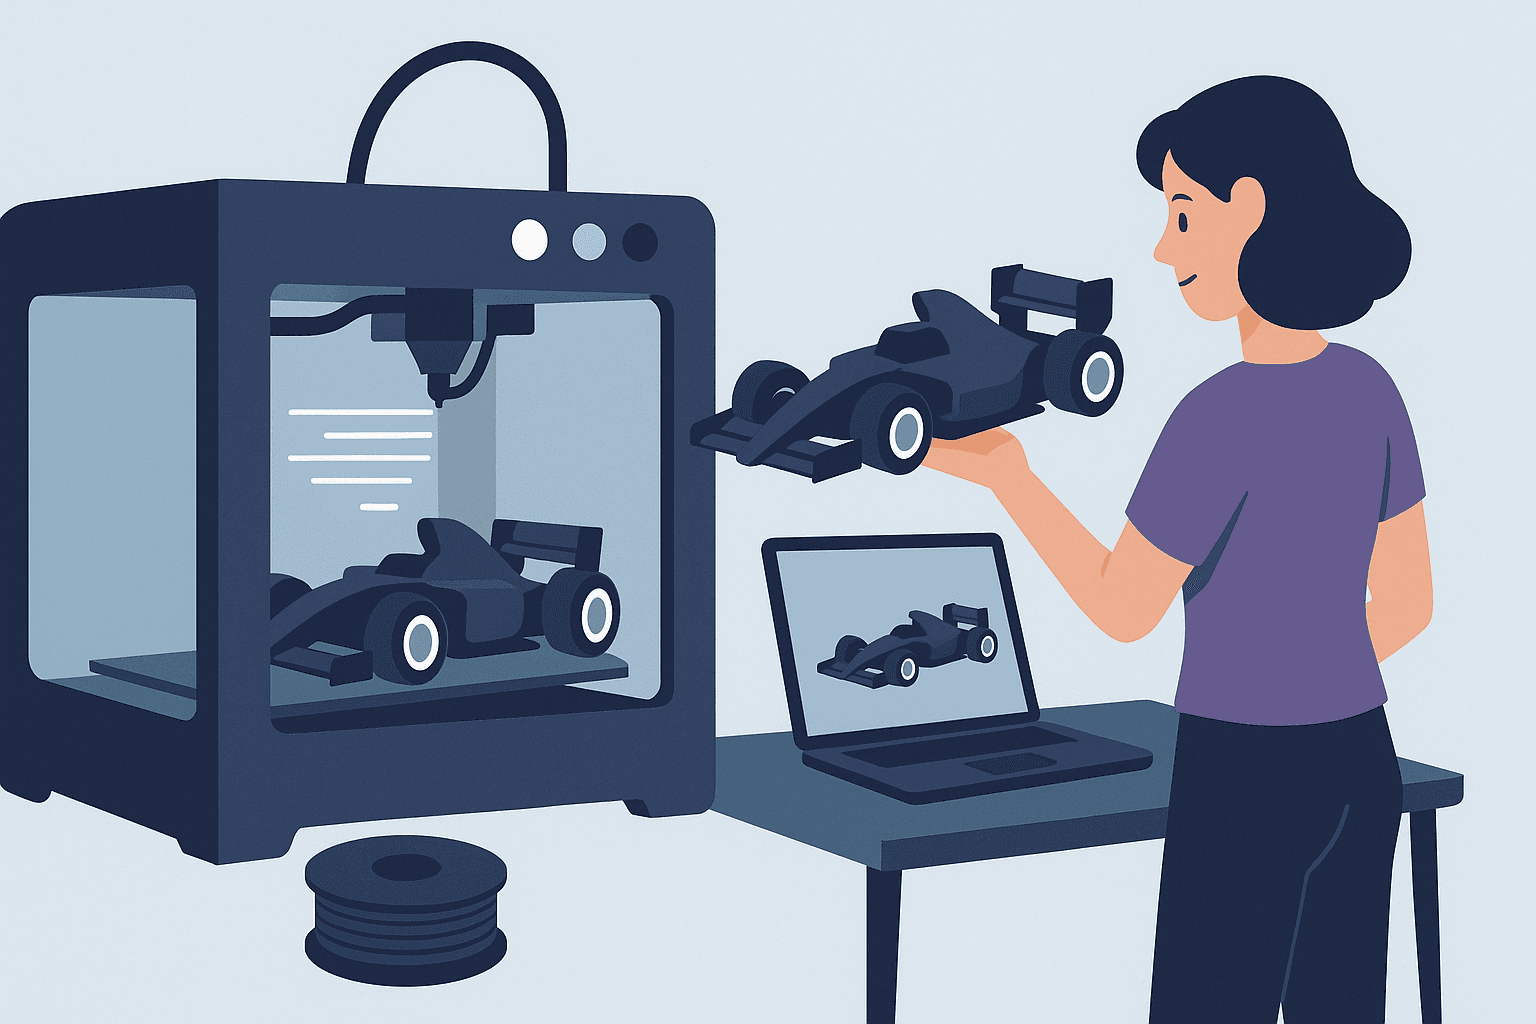
Discover how 3D printing is revolutionizing Formula 1 by enhancing design, reducing costs, and increasing team efficiency.
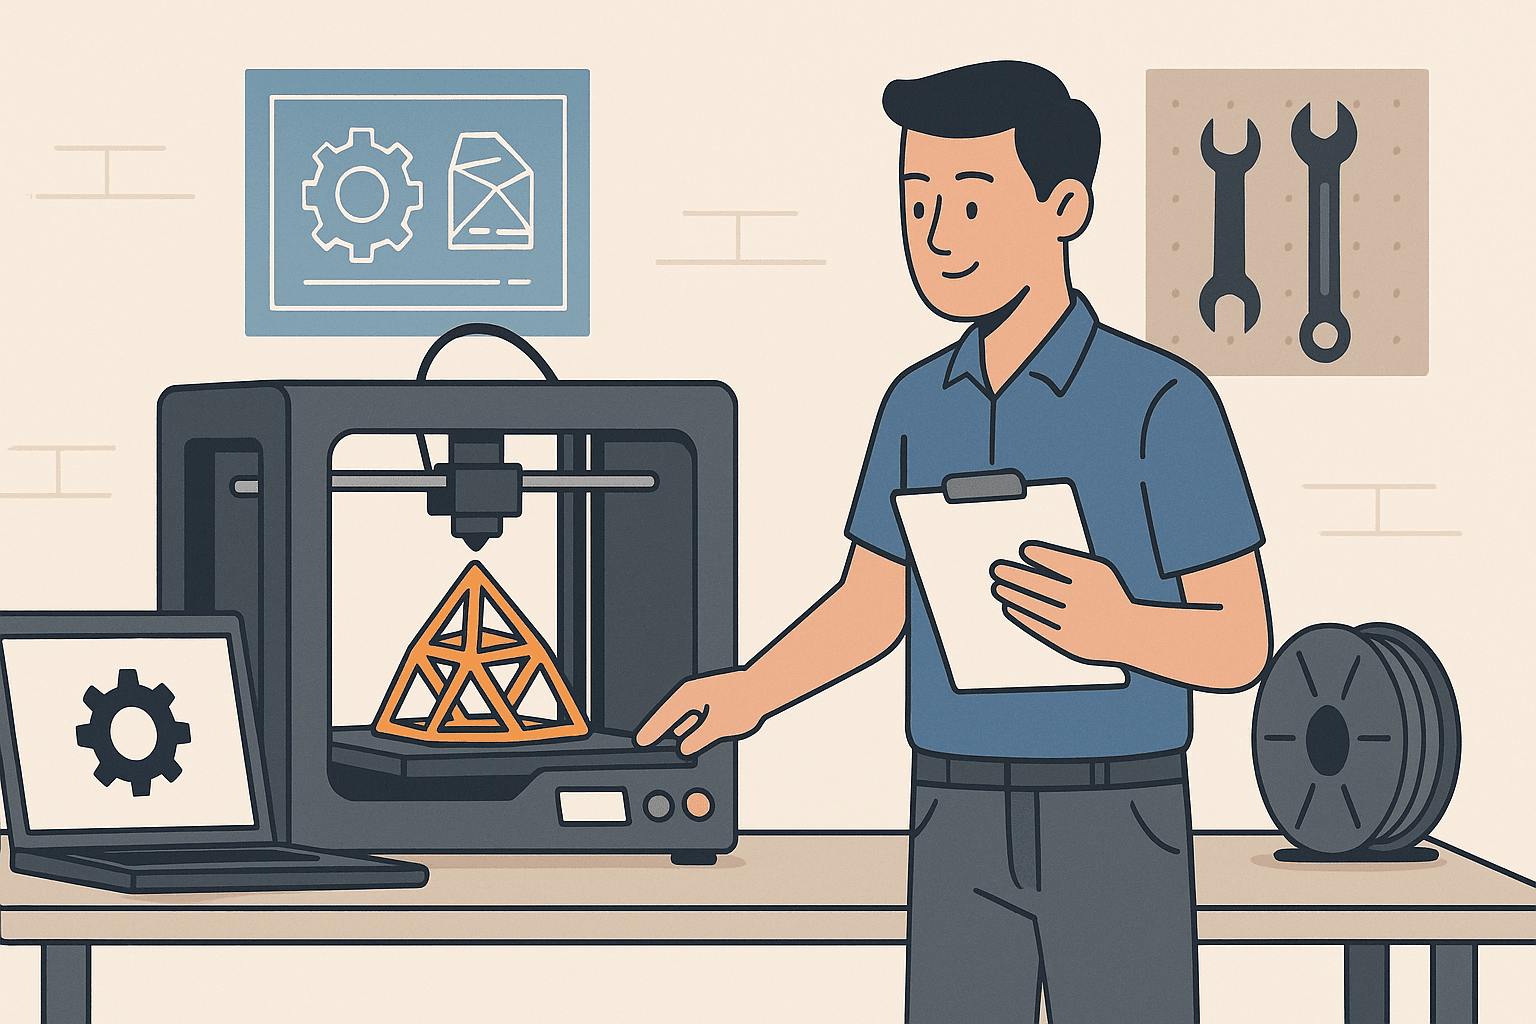
Discover how engineering and 3D printing are transforming design and production, offering innovative and customized solutions across various sectors.

Discover the key features of 3D printers and choose the ideal one for your project with our comparative table. Find out the differences now!