Applications of 3D Printing in Formula 1
Discover how 3D printing is revolutionizing Formula 1 by enhancing design, reducing costs, and increasing team efficiency.
Learn how to calculate 3D printing costs, from materials to electricity, and discover ways to save and optimize your projects.
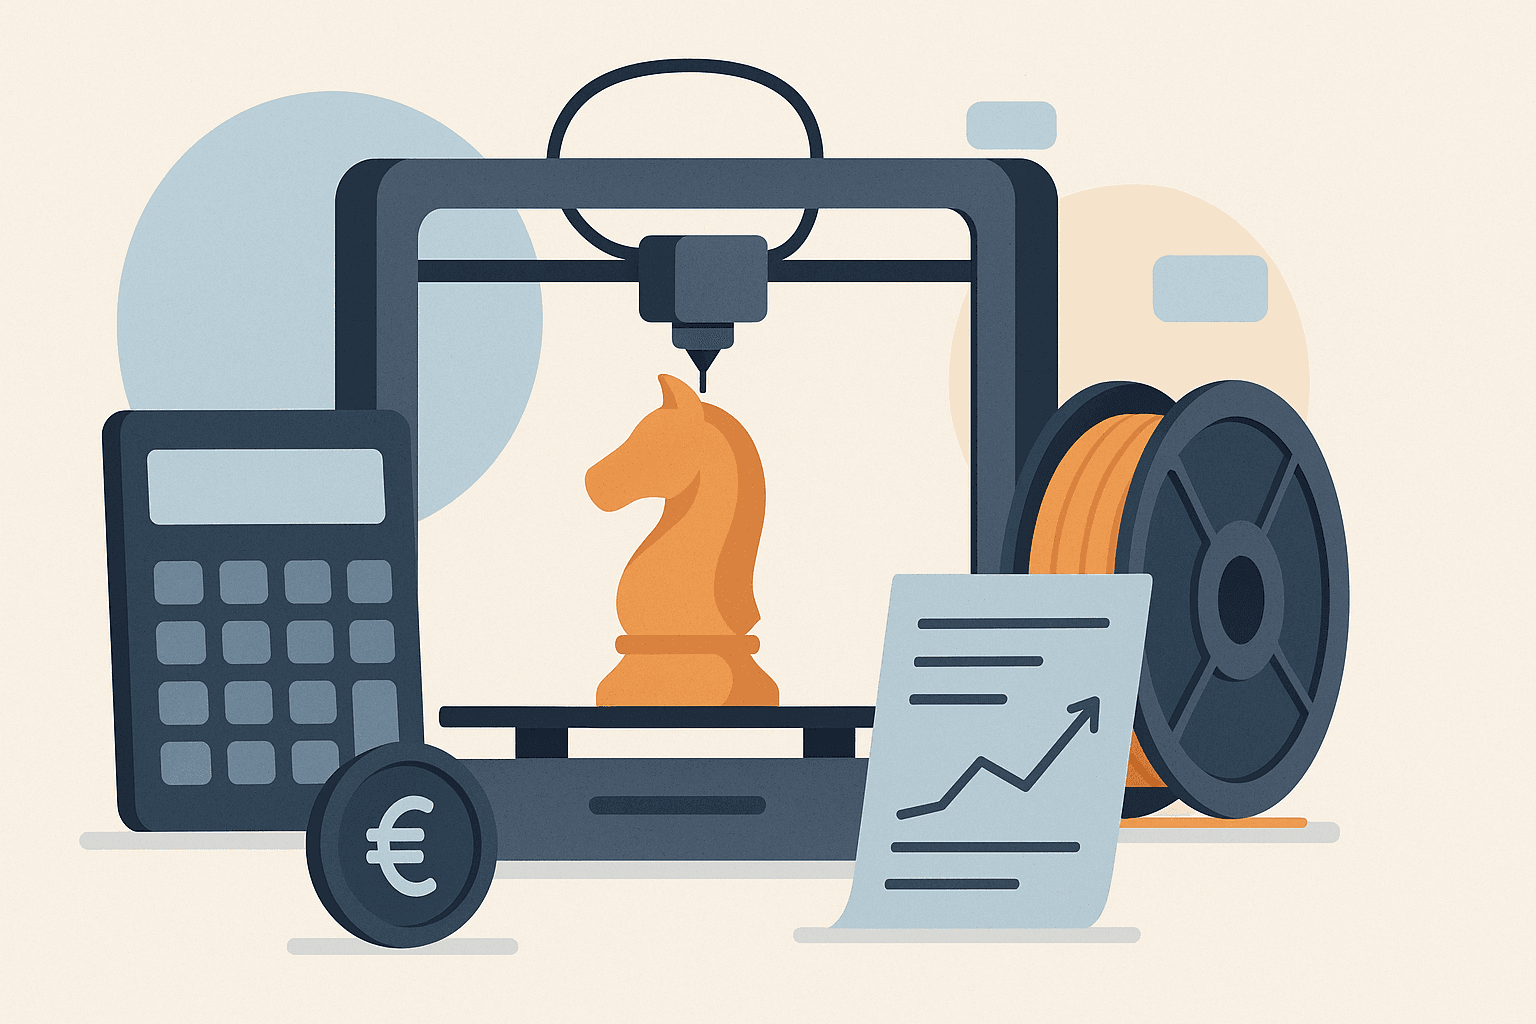
3D printing offers an innovative way to turn ideas into reality, but understanding the costs involved is crucial for any enthusiast or maker. The costs of 3D printing can be divided into several main categories: materials, printing time, and printer maintenance.
First, the type of material used can have a significant impact. Filaments like PLA and ABS are common and relatively affordable, but specialized materials like nylon or carbon fiber composites can be significantly more expensive. Additionally, the choice of material affects the quality and durability of the printed object, which should be considered when planning a project.
Another important factor is printing time. Complex or larger models can take hours, or even days, to complete. This not only consumes electricity but also wears out the printer. A common mistake is underestimating the time needed to finish a print, leading to unexpected costs. For example, a hobbyist might start a project for a large decorative piece without properly calculating the printing time, only to find that the project took three times longer than expected, increasing energy costs and machine wear.
Printer maintenance is also a cost to consider. Parts like extrusion nozzles and print beds may need regular replacement, especially if the printer is used frequently. Ignoring maintenance can lead to print failures and the need for more expensive repairs down the line. A common error is forgetting to calibrate the printer regularly, which can result in poor-quality prints and material waste.
In summary, when planning any 3D printing project, it is vital to consider all these factors to avoid unpleasant surprises and ensure that the project is economically viable.
The materials used in 3D printing, such as filaments and resins, are fundamental components of the total cost of any printing project. Choosing the right material not only affects the price but also the quality and mechanical properties of the final product. Filaments like Bambu Lab PLA LITE are popular due to their ease of use and versatility, making them an excellent choice for prototypes and decorative pieces. On the other hand, Creality PETG Filament offers greater heat and impact resistance, making it ideal for functional parts that require additional durability.
When it comes to resin printers, ELEGOO Resin 2.0 is often chosen for its ability to produce incredibly fine details, making it ideal for miniatures and complex pieces. However, a common mistake among beginners is underestimating the amount of resin needed to complete a project. This can lead to interruptions in printing and the need to acquire more material, increasing costs and production time.
A concrete example is printing a replacement part for a household device. Using PLA, the part can be printed quickly and at a low cost, but if the part is subjected to mechanical stress or heat, PETG would be a more appropriate choice, despite being more expensive. Additionally, the choice of material can influence the need for post-processing, such as sanding or painting, which should also be considered in the total cost.
Another point to consider is the storage of materials. Filaments and resins can absorb moisture, which affects print quality. Therefore, storing them in dry places and airtight containers is essential to maintain material integrity, thus avoiding additional costs due to print failures.
Electricity consumption is a crucial aspect to consider when calculating 3D printing costs. The amount of energy consumed depends on several factors, including the type of 3D printer, operating temperature, and duration of the printing process. FDM (Fused Deposition Modeling) printers, for example, typically consume between 50 to 150 watts during operation, while resin printers can consume up to 300 watts or more due to the use of UV lamps for curing the resin.
A practical example would be a home FDM printer that consumes an average of 100 watts. If printing an object takes 10 hours, the total energy consumption will be 1 kWh (kilowatt-hour). Depending on the electricity rate in your area, this could represent an additional cost that needs to be factored into the project budget.
A common mistake among 3D printing enthusiasts is underestimating the impact of the heating time of the extruder nozzle and print bed. Often, printers remain in heating mode for a considerable period before even starting the print, which can increase total energy consumption. Additionally, complex projects requiring high resolution can significantly prolong printing time, raising energy consumption.
Another point to observe is the energy efficiency of the printer. Older or lower-cost models may not be as efficient as newer models, which often come with energy-saving modes or components that consume less electricity. Evaluating these factors can help optimize energy use and reduce operational costs in the long run.
Keeping the printer in good condition can incur additional costs that many enthusiasts do not initially consider. Regular maintenance is crucial to ensure the longevity and print quality of the machine. For example, replacing the MK8 Nozzle 10 Pack is essential to maintain detail accuracy, especially in FDM printers. These nozzles can wear out over time due to constant friction and high temperatures, leading to clogs or inferior print quality.
Another often-overlooked component is the FEP Film 140×200 mm, used in resin printers. This film is a transparent membrane that allows UV light to pass through to cure the resin, but over time, it can wear out or scratch, affecting the quality of the printed layer. Regularly replacing the FEP film is crucial to avoid print failures and ensure smooth, detailed surfaces.
A common mistake among beginners is not having replacement parts on hand, which can result in prolonged downtime when a part fails. Additionally, improperly installing replacement parts can cause further damage. For example, when replacing a nozzle, it is important to ensure it is properly tightened to avoid filament leaks, which can damage the print head or heating block.
Maintaining a preventive maintenance schedule and having a basic stock of replacement parts can save time and money in the long run, ensuring that the printer is always ready for the next project.
Printing time is a crucial factor that directly impacts production costs in 3D printing. Each project has its own time requirements, which depend on the complexity of the design, the type of material used, and the printer settings. More complex and detailed projects generally require more time to complete, which in turn results in higher energy and material consumption. For example, printing an intricate piece with many details can take hours or even days, depending on the desired resolution and the configured printing speed.
A common choice to optimize printing time is to adjust the layer height. Thinner layers result in smoother finishes but also increase printing time. On the other hand, thicker layers reduce time but may compromise the visual quality of the piece. Therefore, finding an appropriate balance between quality and time is essential to keep costs under control.
A practical example is printing a smartphone stand. If you set a layer height of 0.1 mm for a smooth finish, the printing time may be significantly longer than if you opt for a height of 0.3 mm. The choice of printer also plays an important role. Using an efficient printer like the Bambu Lab A1 Mini can reduce printing time without sacrificing quality. This printer is known for its speed and precision, helping to minimize downtime and operational costs.
A common mistake is not considering the cooling time and post-print finishing, which can also add hours to the total process. Ignoring these factors can lead to underestimating the total time needed to complete a project, resulting in unexpected costs. Therefore, when planning a 3D printing project, it is essential to account for all aspects of production time for a more accurate cost estimate.
Choosing the right printer can make a big difference in costs, especially when considering the type of printing technology each model offers. For example, the Elegoo Neptune 4 is an FDM (Fused Deposition Modeling) printer, which is generally more affordable and suitable for prototypes or larger parts that do not require extreme detail. This type of printer uses plastic filaments like PLA or ABS, which are relatively cheap and easy to find.
On the other hand, the Anycubic Photon Mono 4 is an LCD resin printer, ideal for creating objects with fine details, such as miniatures or complex pieces. Although resin printers may be more expensive in the long run due to the cost of resin and the need for additional equipment like a washing and curing station, they offer a precision that FDM printers cannot match.
A common mistake many make when choosing a printer is not considering the cost of materials and long-term maintenance. For example, a user might opt for the Elegoo Neptune 4 due to its lower initial cost but fail to account for the frequent replacement of nozzles and maintenance of the print bed, which can increase operational costs. Similarly, someone choosing the Anycubic Photon Mono 4 may underestimate the cost and time involved in cleaning and curing printed pieces.
Additionally, it is important to consider the necessary print volume. If you plan to print large objects or in large quantities, the build capacity of the FDM printer may be more advantageous. However, for intricate details, resin printers are unbeatable. Carefully analyzing your specific needs and the type of project you intend to develop can help avoid financial surprises and ensure you choose the printer that best fits your budget and creative goals.
To reduce 3D printing costs, it is essential to focus on three main areas: optimized design, material selection, and printer settings. Starting with design, an efficient approach is to minimize the use of supports. For example, when designing a piece with overhangs, try to incorporate angles of no more than 45 degrees, which reduces the need for additional support structures. This not only saves material but also reduces post-processing time.
When selecting materials, opt for more economical filaments that still meet your needs. PLA is a popular choice due to its cost-effectiveness, but if strength is a priority, consider PETG, which offers a good balance between cost and durability. A common mistake is choosing exotic materials without a real need, which can significantly increase costs without clear benefits for the project.
Adjusting printer settings can also lead to savings. Reducing the infill density from 100% to something between 15% and 20% can make a big difference in material consumption and printing time without compromising structural integrity for many applications. Additionally, the layer height can be increased for less detailed projects, speeding up the printing process and saving energy.
A practical example is printing shelf supports. By optimizing the design to minimize supports, using PLA, and adjusting the infill to 20%, it is possible to reduce costs by up to 40% compared to a non-optimized design with full infill. A common mistake is not reviewing the printer's default settings, which are often configured for maximum quality, resulting in unnecessary spending on time and material.
Understanding 3D printing costs is essential for optimizing your projects and avoiding unpleasant surprises in the budget. A careful analysis of the factors involved, such as the type of material, printing time, and desired level of detail, can make a big difference. For example, when choosing between PLA and ABS, consider not only the price of the filament but also the characteristics of each material. PLA is easier to print and does not require a heated bed, which can reduce energy consumption and equipment wear. On the other hand, ABS offers greater strength and durability but requires a controlled environment to avoid warping, which can increase operational costs.
A common mistake among beginners is underestimating the impact of printing time on the electricity bill. Long and complex prints can consume a significant amount of energy, especially if the printer is not properly calibrated or if there are failures that result in reprints. A practical example is printing a high-resolution automotive part prototype, which can take 10 to 15 hours. If a design or printer configuration error results in a failure, the cost of repeating the process can be high. Therefore, always conduct small-scale tests before starting large projects.
Additionally, consider regular printer maintenance as part of the total cost. Components like nozzles, belts, and print beds may need replacement or adjustment, and neglecting them can lead to failures that increase costs in the long run. By evaluating all these aspects, you can make informed decisions that not only save money but also ensure the quality and efficiency of your 3D printing projects.
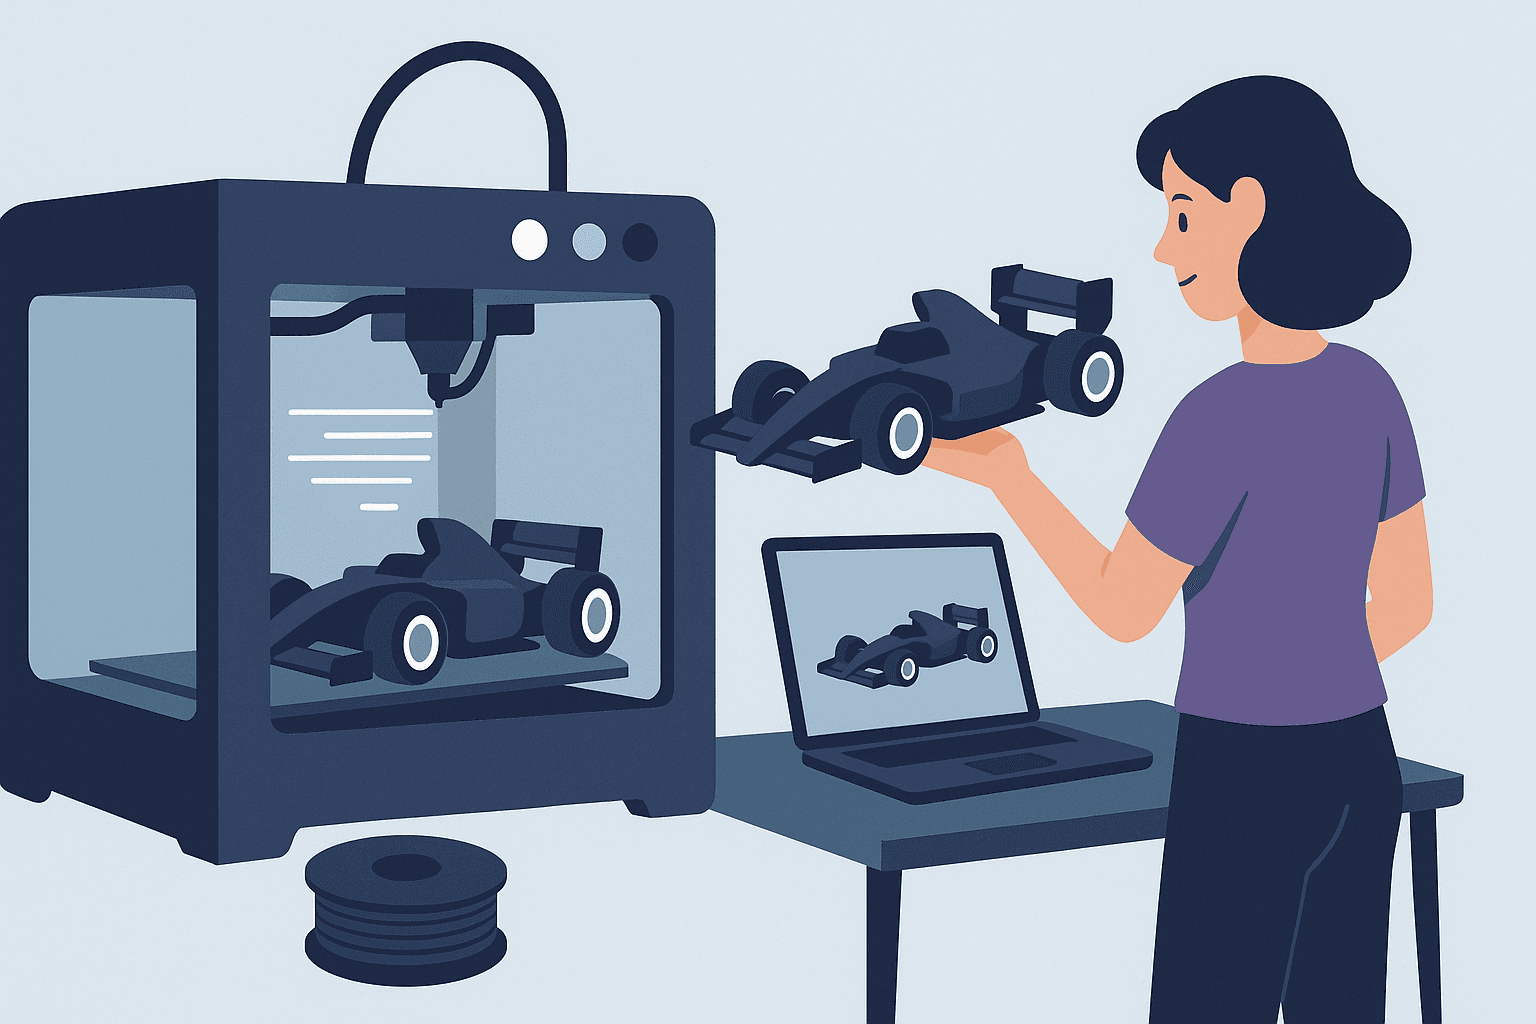
Discover how 3D printing is revolutionizing Formula 1 by enhancing design, reducing costs, and increasing team efficiency.
Discover how engineering and 3D printing are transforming design and production, offering innovative and customized solutions across various sectors.

Discover the key features of 3D printers and choose the ideal one for your project with our comparative table. Find out the differences now!