Applications of 3D Printing in Formula 1
Discover how 3D printing is revolutionizing Formula 1 by enhancing design, reducing costs, and increasing team efficiency.
Discover how layer height influences the mechanical strength of FDM 3D prints, and learn how to optimize your settings for better results.

The layer height plays a crucial role in FDM 3D printing, affecting both the visual quality and the mechanical strength of the parts. Technically speaking, layer height refers to the thickness of each layer of material deposited during the printing process. Thinner layers, like 0.1 mm, can result in smoother surfaces and more precise details, but tend to increase printing time. On the other hand, thicker layers, such as 0.3 mm, can speed up the process but may compromise aesthetics and dimensional accuracy.
A practical example can be seen in printing a functional part, like a load-bearing bracket. If the layer height is too high, the bonds between the layers may be weaker, as the contact area between them is reduced, which can lead to delamination under stress. Therefore, when printing parts that need to support weight or tension, it is advisable to opt for thinner layers to increase cohesion between the layers and, consequently, mechanical strength.
A common mistake among beginners is adjusting the layer height without considering the nozzle diameter of the printer. Using a layer height close to or greater than the nozzle diameter can result in poor layer adhesion and structural defects. For example, a 0.4 mm nozzle should not be set to print layers of 0.4 mm, as this does not allow for adequate material overlap. The rule of thumb is to keep the layer height between 25% and 75% of the nozzle diameter, ensuring good adhesion and strength. Correctly adjusting the layer height is essential to maximize the performance and durability of your 3D printing projects.
Thinner layers, like 0.1 mm, generally result in stronger prints due to better adhesion between the layers. This happens because each additional layer creates more opportunities for the filament molecules to fuse, increasing internal cohesion. This more complete fusion leads to a final piece with greater density, which improves mechanical strength. For instance, when printing a functional part, such as a gear for a robotics project, 0.1 mm layers can withstand more mechanical stress compared to 0.3 mm layers, which may fail more easily under pressure.
However, it is important to consider the material used. Materials like PLA, which have good layer adhesion naturally, benefit more from thinner layers. On the other hand, materials like ABS, which tend to shrink and warp, may not show a significant increase in strength with thinner layers if printing conditions, such as bed temperature and enclosed environment, are not properly controlled.
A common mistake is assuming that the smallest layer height will always result in the best part. In reality, very thin layers can significantly increase printing time, as well as require more precision in printer calibration, which can be challenging for beginners. Additionally, thin layers may not be ideal for parts that do not require high strength or have details that can be easily filled with thicker layers. Therefore, it is crucial to balance layer height with the purpose of the part and the capabilities of the printer to optimize both strength and efficiency in the printing process.
In addition to strength, layer height also significantly affects the surface quality of FDM 3D prints. Thinner layers, like 0.1 mm, provide a smoother and more detailed finish, ideal for parts that require high aesthetic precision, such as display models or design prototypes. However, this comes at the cost of longer printing times, as the printer needs to deposit more layers to complete the part.
On the other hand, thicker layers, like 0.3 mm, can speed up the printing process but often result in surfaces with a more "striped" appearance. This happens because the greater thickness of the layers makes the transitions between them more visible, which can be undesirable for parts that need a smooth finish. A common example is printing functional parts, like brackets or connectors, where aesthetics are secondary to functionality.
A common mistake is assuming that a smaller layer height always results in better quality. In fact, for parts with complex geometry or many fine details, very thin layers may not adhere properly, resulting in defects such as delamination or printing failures. Furthermore, in parts where the surface will be sanded or painted later, an intermediate layer height may be a more efficient choice, balancing quality and printing time.
Therefore, the choice of layer height should consider the final purpose of the part, the time available for printing, and the level of detail required. Adjusting the layer height according to these needs can significantly optimize both surface quality and printing process efficiency.
The choice of layer height directly impacts printing time and should be carefully considered when planning a 3D printing project. Thinner layers, like 0.1 mm, provide greater detail and a smoother finish, but significantly increase the time needed to complete a part. This is because the extruder nozzle needs to make more passes to build the same total height of the object, resulting in longer printing times. For example, printing a 10 cm tall part with 0.1 mm layers can take over 10 hours, depending on the complexity of the geometry.
On the other hand, thicker layers, like 0.3 mm, reduce printing time, as fewer passes are needed. This can be advantageous for quick prototypes or parts where surface finish is not a priority. However, it is important to remember that thicker layers may compromise detail accuracy and surface quality of the part.
A common mistake is choosing very thin layers for parts that do not require a high level of detail, resulting in wasted time and resources. Additionally, when printing with very thin layers, it is crucial to ensure that the printer calibration is perfect, as any misalignment can affect print quality.
An extreme case to consider is when printing very tall parts with thin layers without proper monitoring. This can lead to printing failures due to overheating of the machine or lack of material, especially in printers that do not have advanced sensors to detect these problems. Therefore, it is vital to balance layer height with project requirements and printer capabilities to optimize printing time without compromising quality.
Choosing the right printer is essential when it comes to adjusting layer height to optimize the mechanical strength of FDM prints. Printers like the Bambu Lab A1 Mini are known for offering a wide range of layer height adjustments, which can be crucial for achieving the desired quality. Layer height directly influences the adhesion between layers, which is a critical factor for the final strength of the part.
For example, when printing a part that must support significant loads, such as a shelf bracket, a smaller layer height, like 0.1 mm, can increase strength by improving adhesion between the layers. However, this also increases printing time. The Bambu Lab A1 Mini allows for precise adjustments, enabling tests with different heights to find the ideal balance between strength and printing time.
A common mistake is assuming that the smallest layer height will always result in a stronger part. In fact, if the printer is not calibrated correctly, or if the material is not suitable, very thin layers can result in insufficient adhesion, leading to structural failures. Another point to consider is the printer's ability to maintain a constant temperature, which is essential to ensure that each layer fuses correctly with the previous one.
Finally, it is important to test different settings on test pieces before starting a larger project. This helps avoid unpleasant surprises and ensures that the chosen printer, like the Bambu Lab A1 Mini, is set up to maximize the mechanical strength of the prints.
Different materials may require specific adjustments in layer height due to their physical and chemical properties. For example, when using filaments like Bambu Lab PLA LITE, it is crucial to consult the manufacturer's recommendations to optimize mechanical strength. PLA is known for its ease of use and good strength, but layer height can significantly influence the final performance of the part.
When printing with PLA, a smaller layer height, like 0.1 mm, generally results in a part with better resolution and greater strength, as thinner layers allow for more complete fusion between them, reducing the possibility of failures. However, this also increases printing time. On the other hand, using a larger layer height, like 0.3 mm, can speed up the process but may compromise structural integrity, especially in parts that will be subjected to mechanical stresses.
A common mistake is not adjusting the extrusion temperature when changing layer height. Thinner layers may require slightly lower temperatures to avoid excess heat, which can lead to warping. Conversely, thicker layers may need higher temperatures to ensure proper adhesion between layers.
Another point to consider is material flow. Adjusting the flow to ensure that layers are deposited correctly is essential. Inadequate flow can result in poorly formed layers, compromising the part's strength. Therefore, when working with different layer heights, it is important to conduct tests and fine-tune adjustments to find the ideal balance between quality, printing time, and strength.
In applications where strength is crucial, such as functional parts or prototypes that bear loads, it is recommended to use thinner layers, typically between 0.1 mm and 0.2 mm. Thinner layers increase the density of the deposited material, improving adhesion between layers and, consequently, structural integrity. For example, when printing a gear that needs to withstand high torque, choosing a smaller layer height can prevent premature failures. This is because thinner layers reduce the risk of delamination under mechanical stress.
A common mistake is prioritizing printing speed at the expense of strength, using thicker layers, like 0.3 mm or more. While this speeds up production, it can result in more fragile parts, especially in directions perpendicular to the layers. In tensile tests, parts printed with thicker layers often fail along the layer lines, while those with thinner layers show a more uniform stress distribution.
A specific use case is printing supports for drones, where lightweight and high strength are essential. Thin layers allow for a balance between strength and weight, while thick layers may compromise flight safety. Additionally, when printing parts that will undergo post-processing, such as sanding or painting, thinner layers provide a smoother surface, reducing the time needed for finishing.
Therefore, when planning to print parts that require high strength, it is crucial to consider layer height as one of the main factors affecting the mechanical performance of the final piece.
Thinner layers generally offer better strength as they provide greater adhesion between layers.
Not necessarily. They can be suitable for parts that do not require high mechanical strength and where printing time is a priority.
Most printers allow you to adjust this setting in the slicing software before starting the print.
Yes, thinner layers allow for greater precision in complex details, while thicker layers may lose some subtle details.
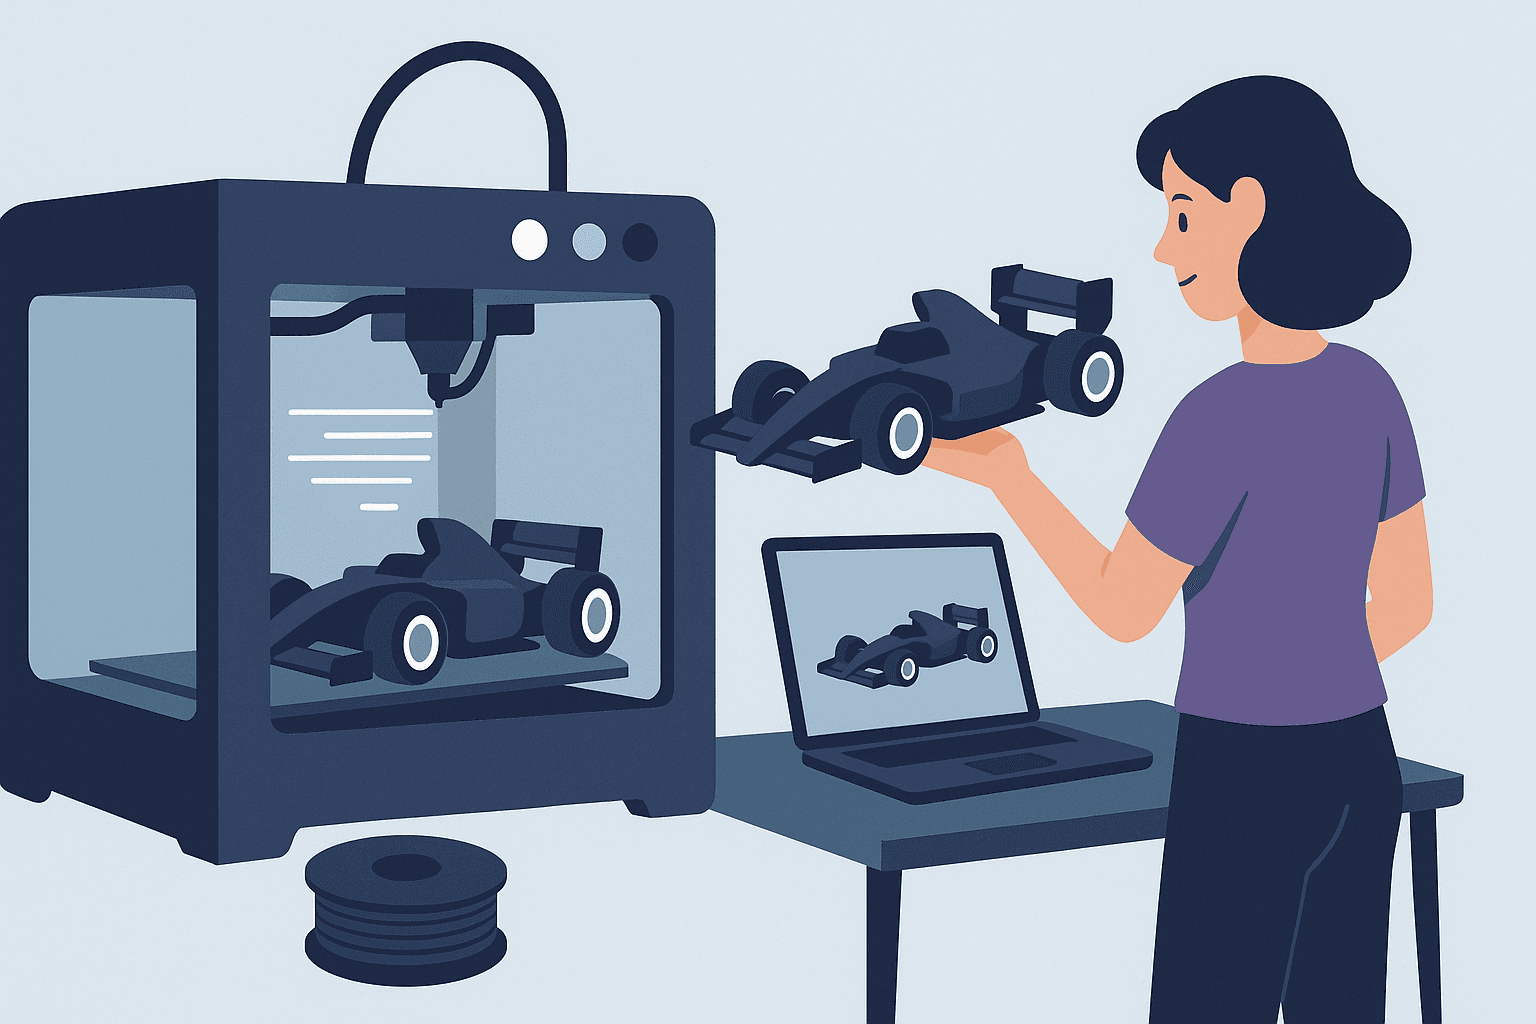
Discover how 3D printing is revolutionizing Formula 1 by enhancing design, reducing costs, and increasing team efficiency.
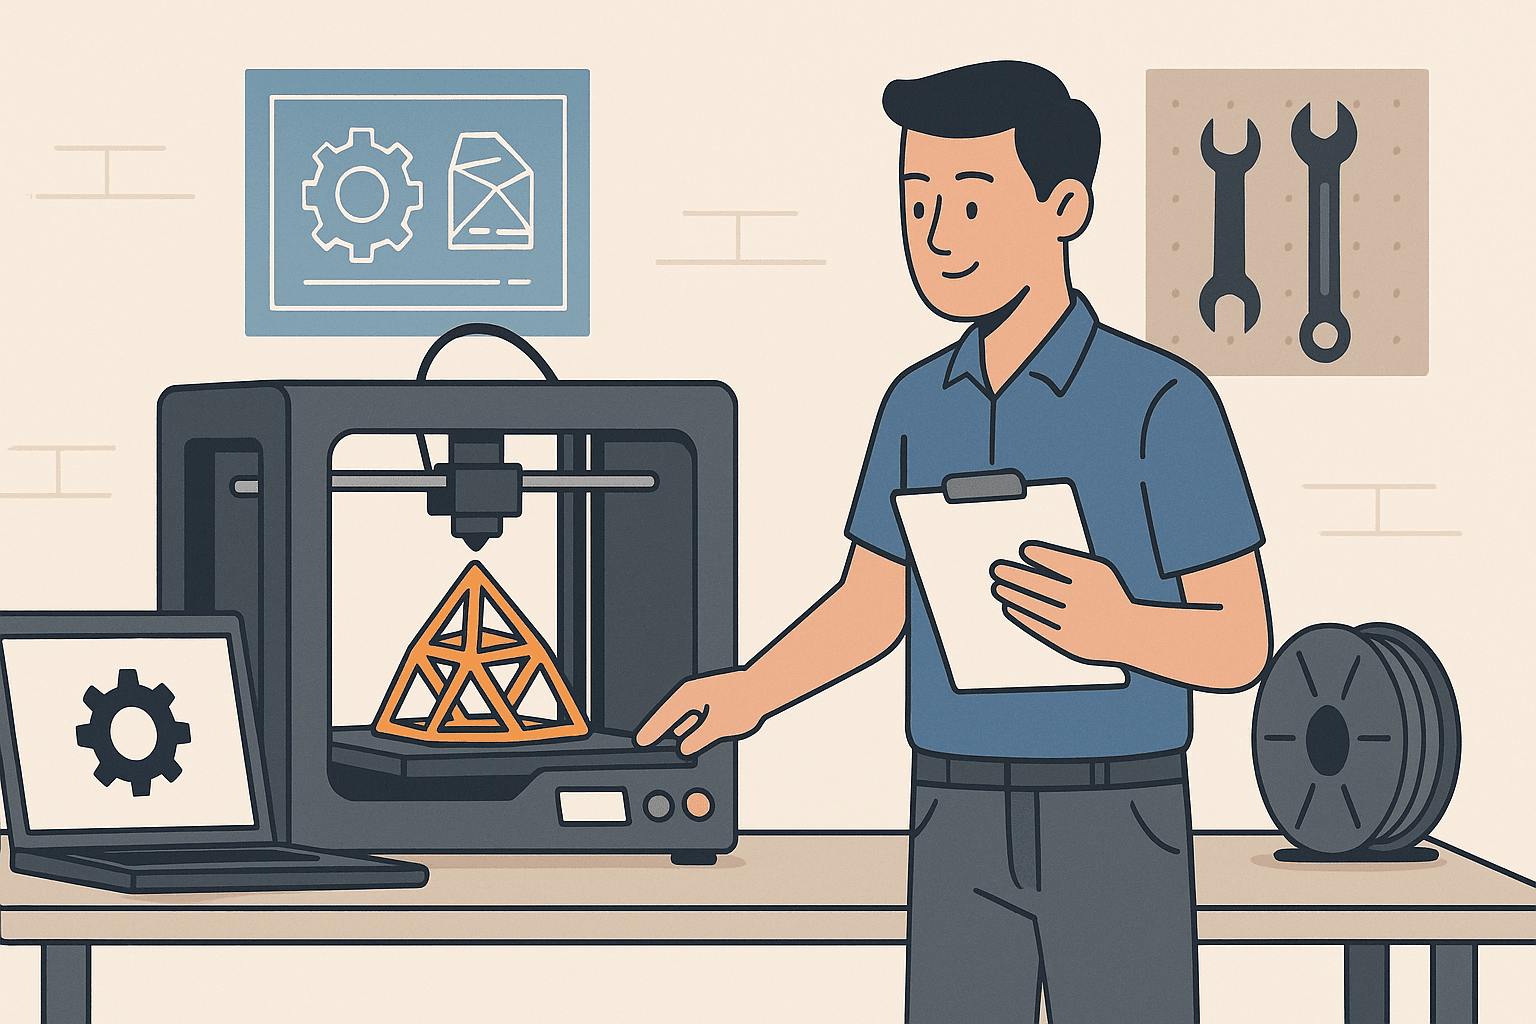
Discover how engineering and 3D printing are transforming design and production, offering innovative and customized solutions across various sectors.

Discover the key features of 3D printers and choose the ideal one for your project with our comparative table. Find out the differences now!